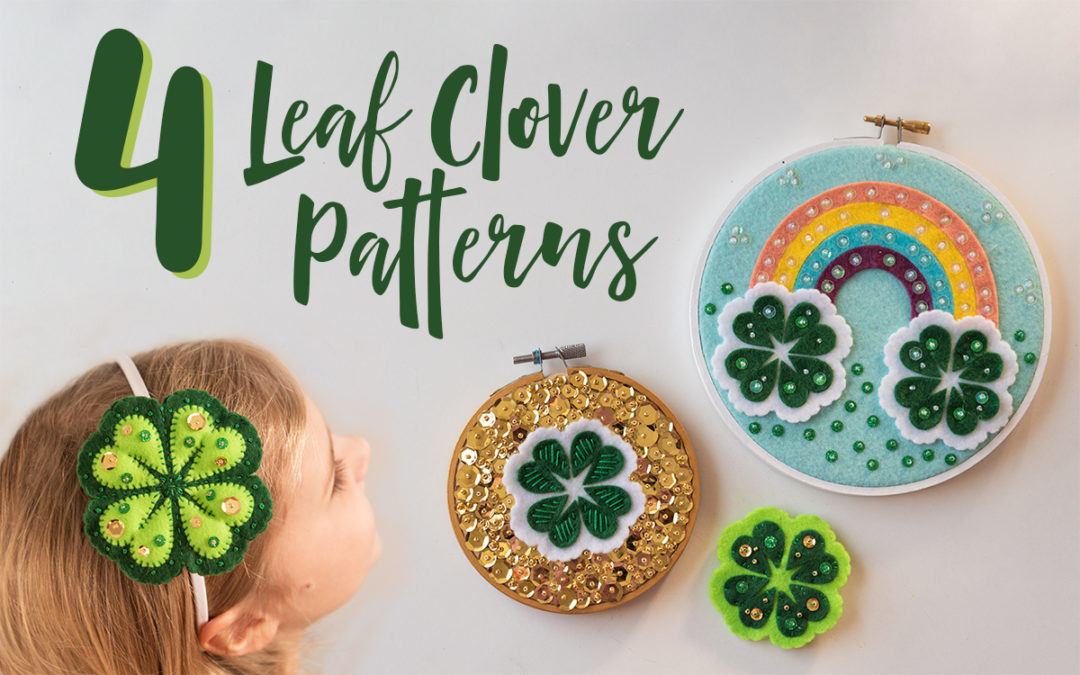
Happy St. Patty’s day!  Lucky me – I got to make four 4-leaf clover crafts!

– – – – –

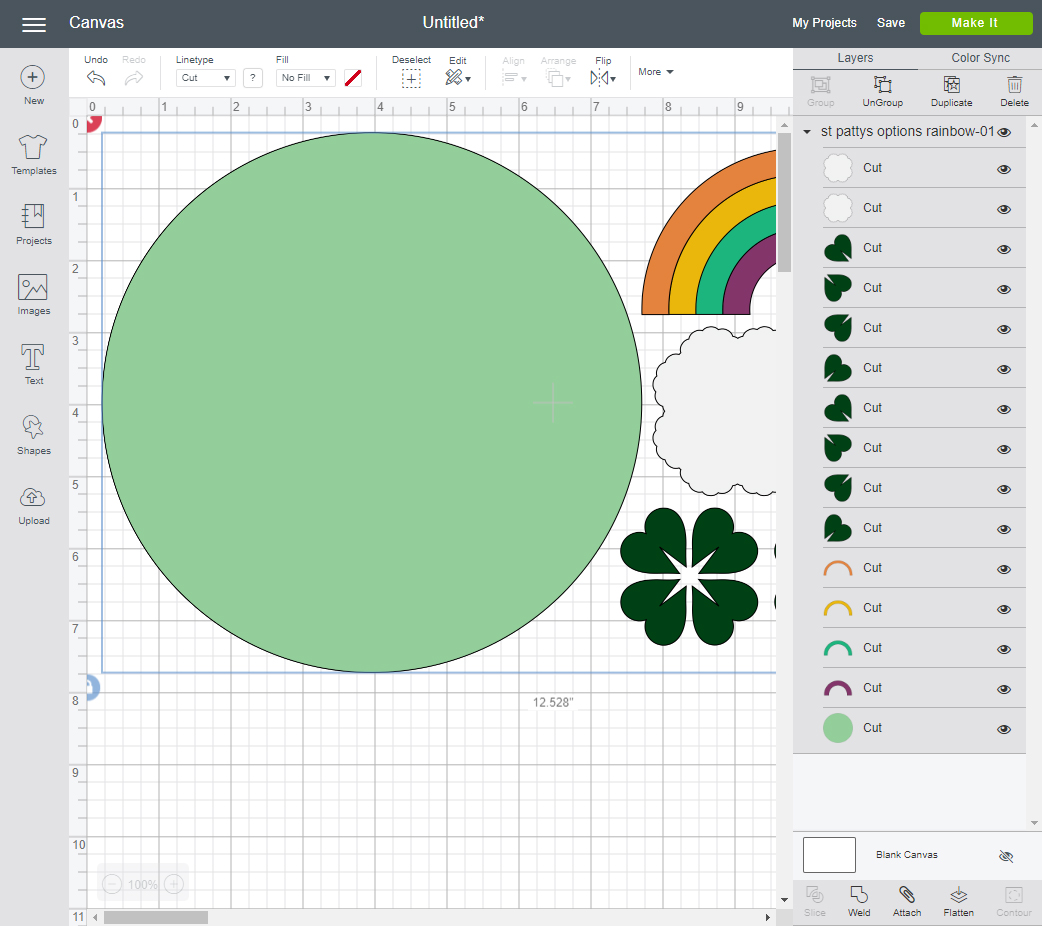
Sometimes the simplest forms offer the most opportunity for expression and creativity.  I enjoy seeing the multitude of different ways one motif can be executed by other crafters.  That in turn inspired me to see what I could do using the same four-leaf clover shape, with additional rainbow and size elements available for download.  I hope these ideas inspire you to take your own spin!

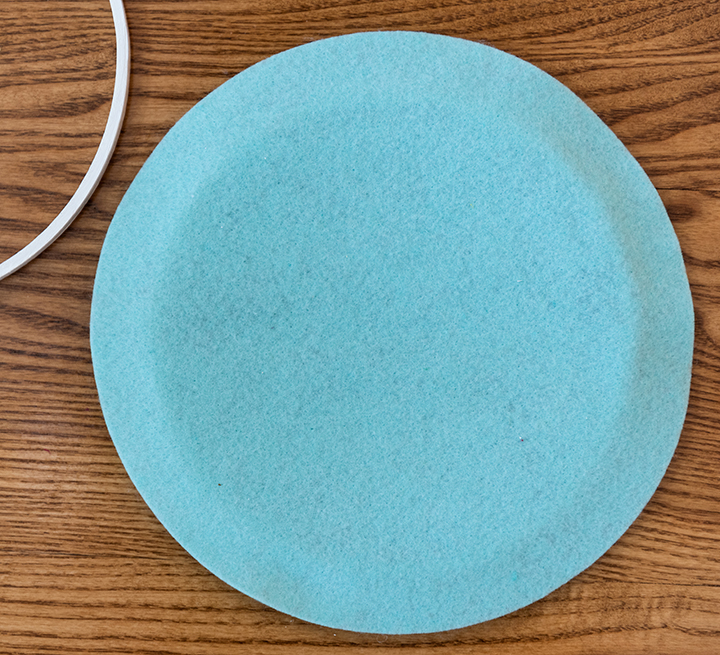
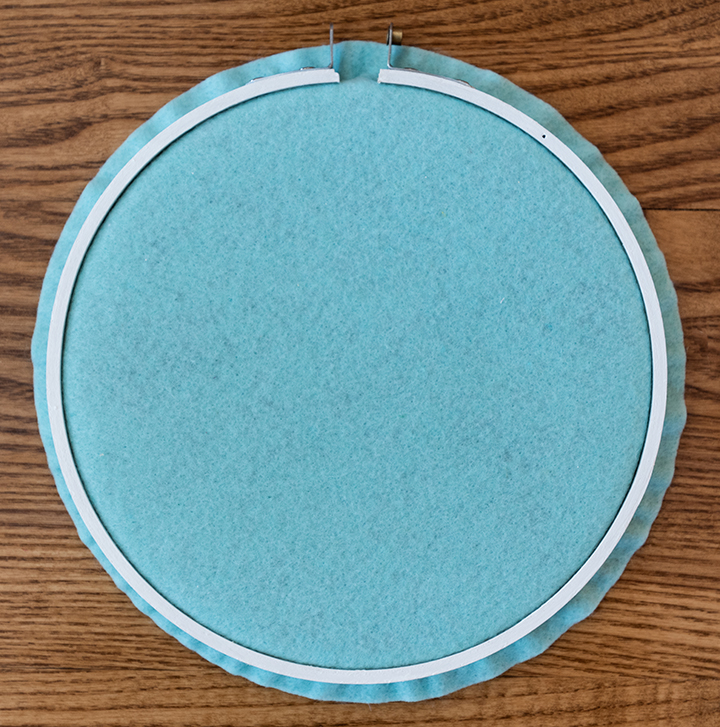
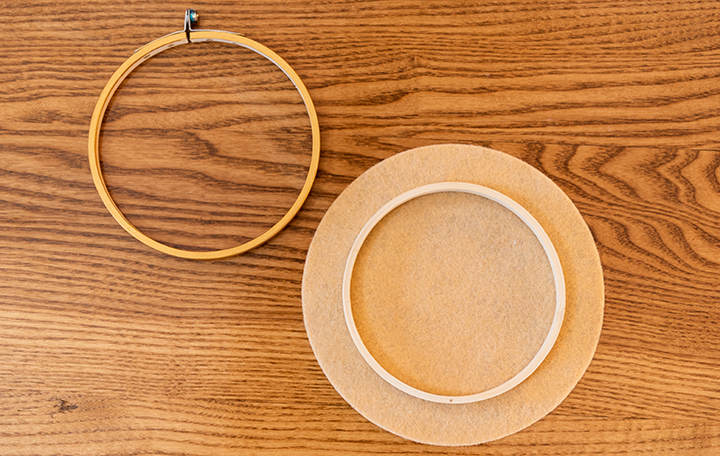
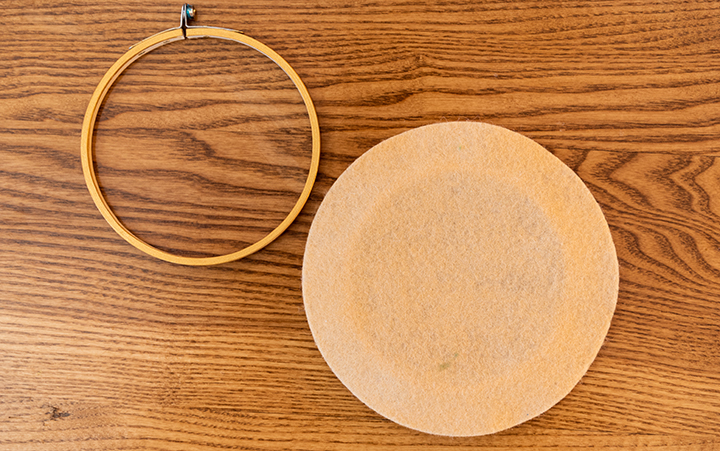
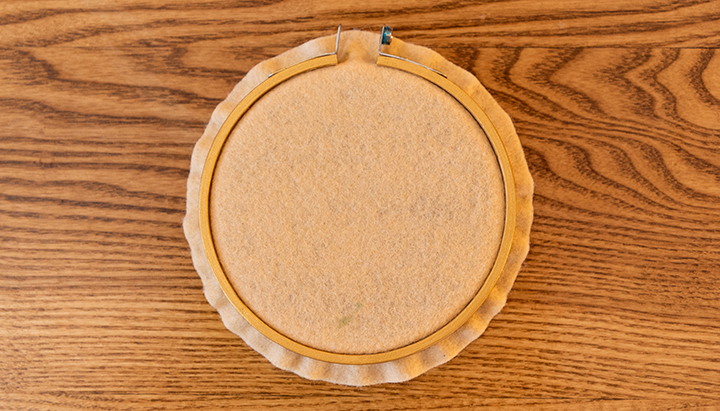
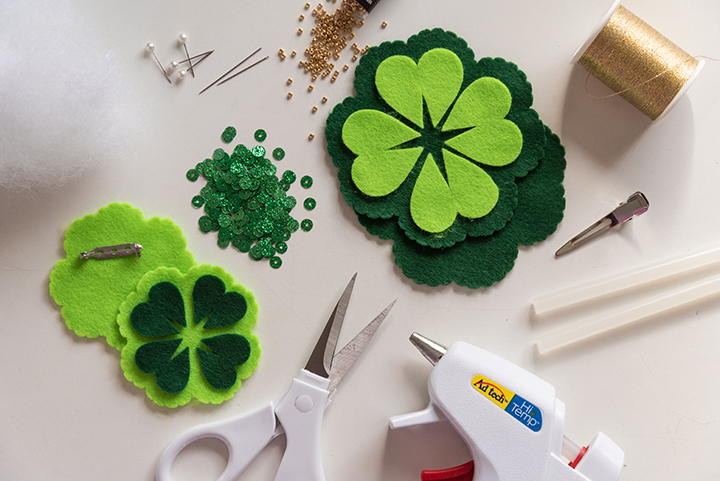
I cut my felt materials on a Cricut Maker – the patterns are available for download on my Etsy shop.  Please note that you can certainly use this post as inspiration to cut out and create your own 4-leaf clover craft designs, but if you have a Cricut® Maker, rotary blade & fabric grip mat this step is much easier.

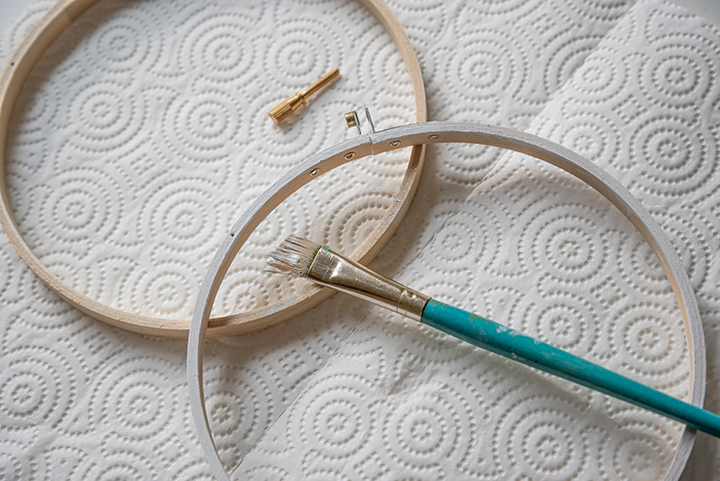
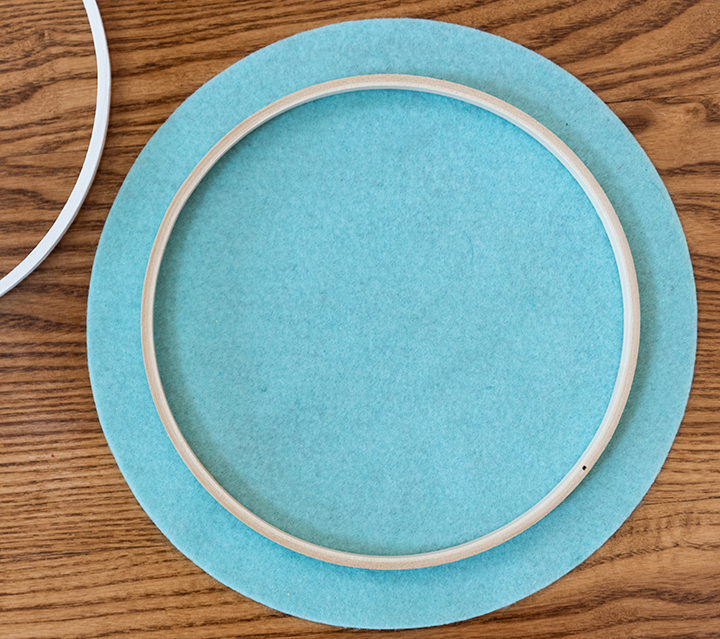
Each application – pin, hairpiece, rainbow and pot o’ gold – is shown below, followed by Cricut Design Space computer instructions.  I recommend that you read and look through these instructions before proceeding with assembly.  

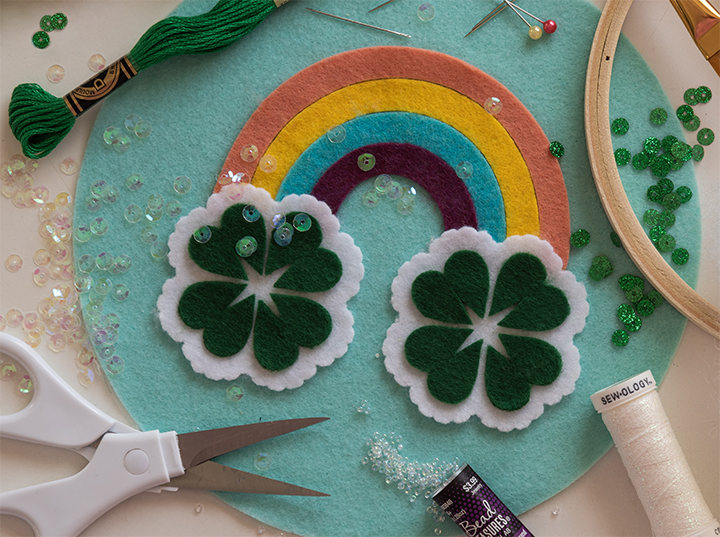
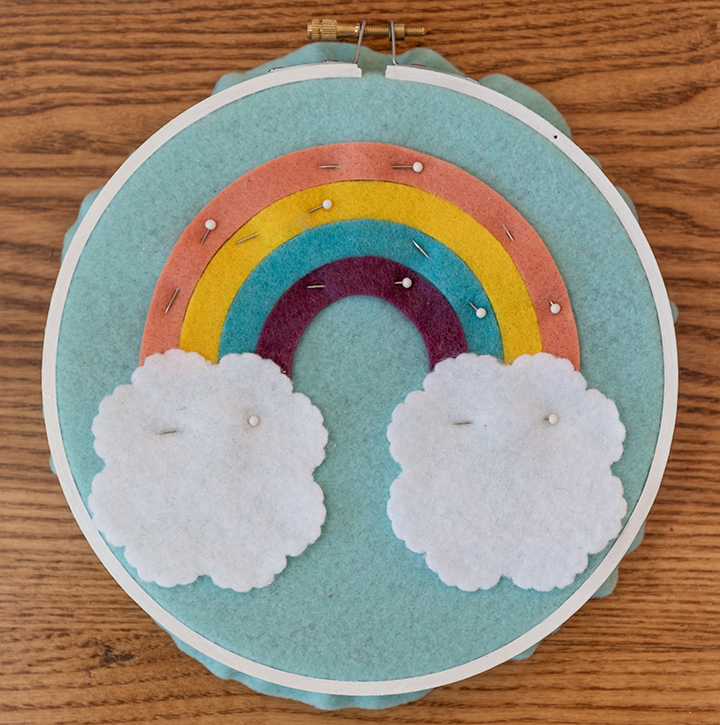
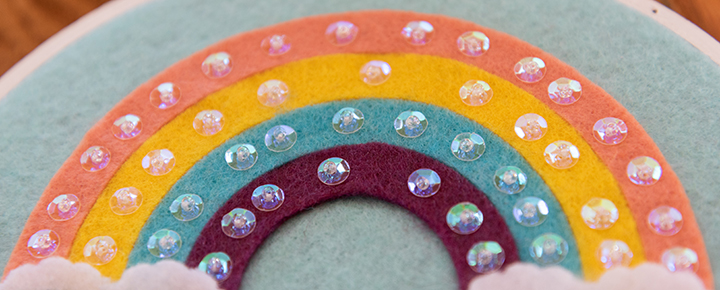
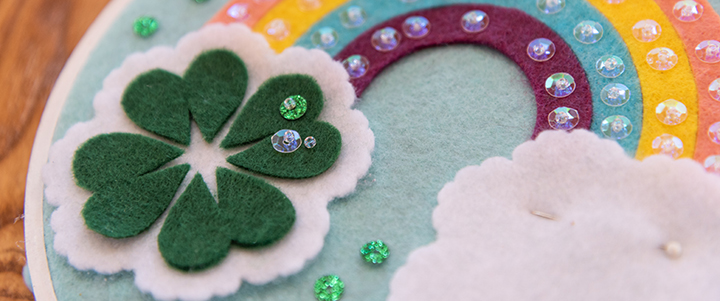
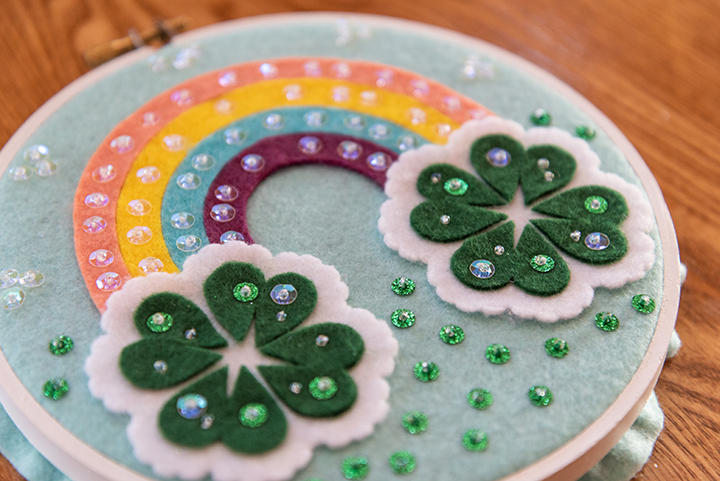
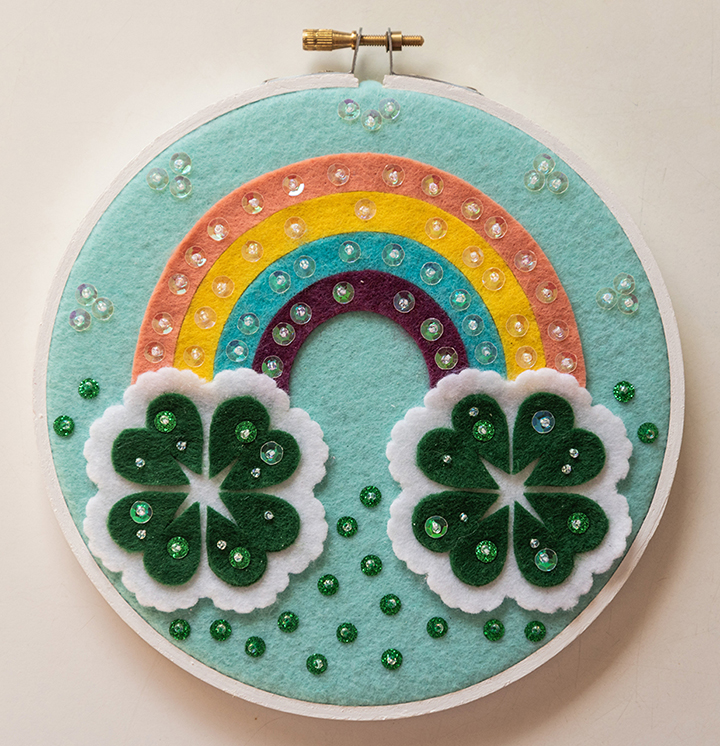
Lucky Rainbow Assembly

Lucky Rainbow Embroidery Hoop Materials:
 Cut felt pattern pieces
 6″ embroidery hoop 
 Paint (for embroidery hoop – optional)
 Beads
 Sequins

Thread, size 10 beading needle, size 7 embroidery needle (I used iridescent thread on some sequins and one strand of green embroidery floss for others)

Sewing pins and scissors
First things first, I painted the outer embroidery hoop.  I chose white.  
Once the hoop was fully dried, I moved on to the next step.  I placed the inner hoop onto the circle, eyeballing the placement to make sure there was an equal amount of felt on all sides.
Then I flipped the felt and hoop over and carefully placed the outer hoop on top, taking care not to beat up the felt.  
After securing the hoop, I arranged and pinned the rainbow colors and “clouds” to the felt.  
I applied the rainbow to the hoop by sewing on sequins and beads in random yet secure places. 
Then I sewed both the “cloud” and clover leafs in place at the same time using the sequins and beads, and decorated the background with additional sequin/beads.  
When I was completely finished sewing details onto my hoop, I trimmed the excess felt from the back edges of the hoop.  I like to save this step for the end.  This way I can tug on the felt from the back of the hoop if the surface seems too loose while I’m working.    

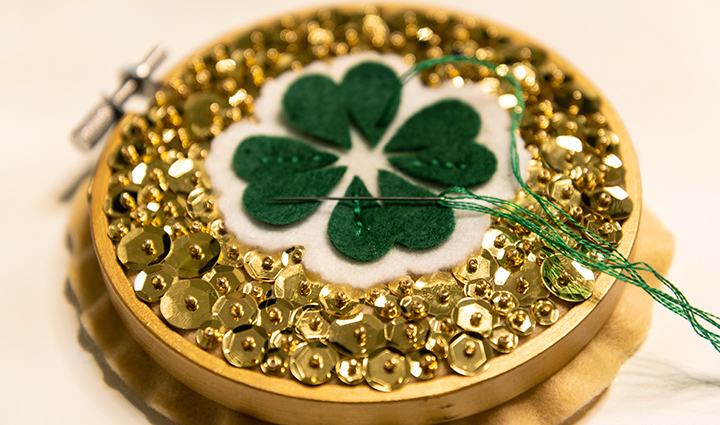
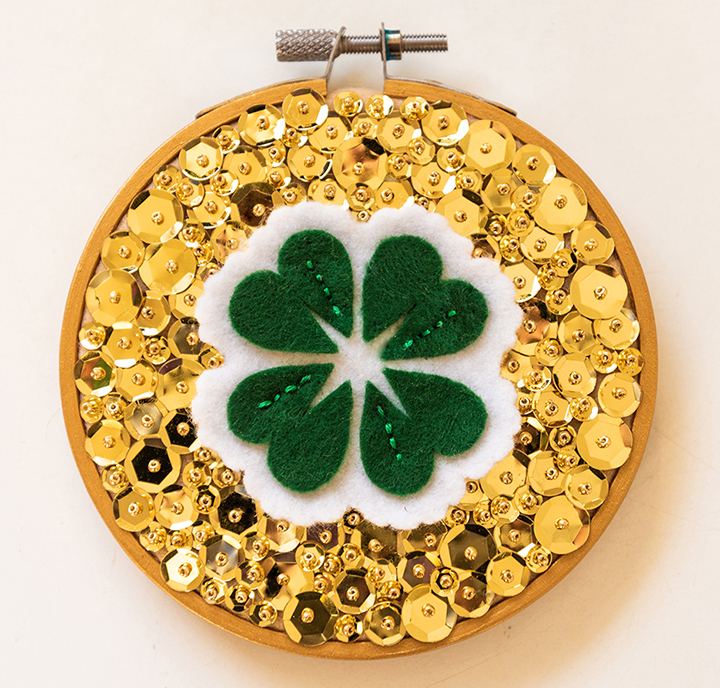
Pot O’ Gold Assembly

Pot O’ Gold Embroidery Hoop Materials:
 Cut felt pattern pieces
 4″ embroidery hoop 
 Gold paint (for embroidery hoop – optional)
★ Embroidery floss – Note: I prefer to separate my floss – for this pattern I used 2 strands
 Beads
 Gold sequins in varying sizes

Thread, size 10 beading needle, size 7 embroidery needle

Sewing pins and scissors
Paint the outer embroidery hoop gold.  Once the hoop is fully dried, place the inner hoop onto the circle, eyeballing the placement to make sure there is an equal amount of felt on all sides.
Flip the felt over, then carefully place the outer hoop on top, taking care not to beat up the felt.  
After securing the hoop, arrange and pin the clover elements.  
Using beads and gold sequins in varied sizes, apply the “gold” to the hoop in a random order.  Make sure to cover the entire background.  Sequins can get very close to the white clover border – just sneak them under. 
Remove the pins and use embroidery floss to secure the clover leaves and white border at the same time.  Done!
Trim the excess felt from the back edges of the hoop (step shown above in lucky rainbow hoop).  

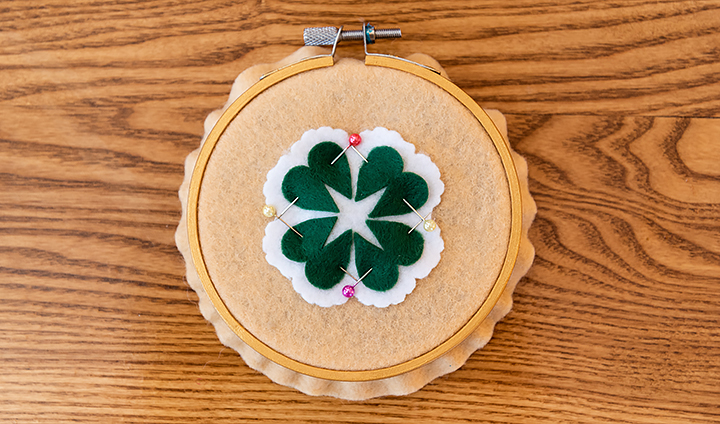
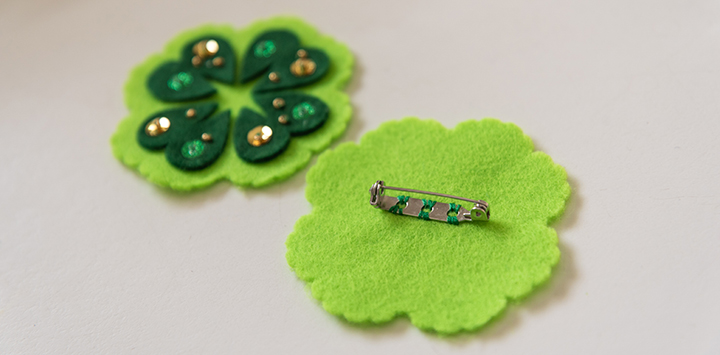
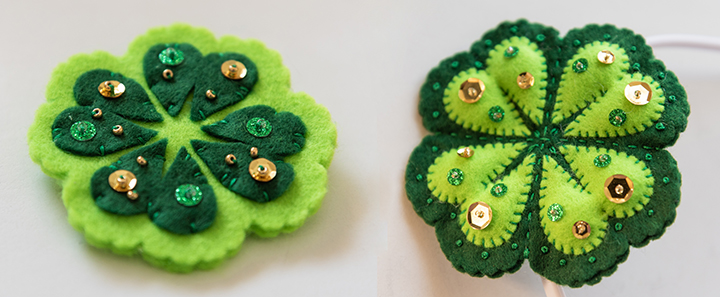
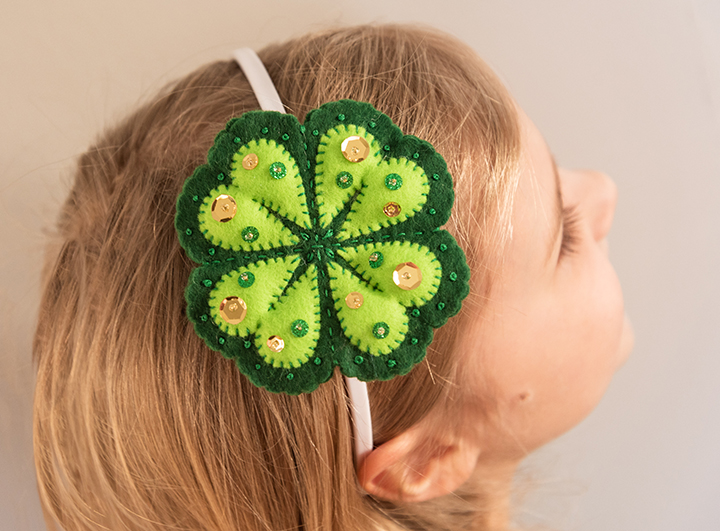
Pin and/or Hairpiece Assembly

Materials:
 Cut felt pattern pieces
 Brooch back bar pin, craft barrette or hairband
Thread and/or Embroidery floss – Note: I prefer to separate my floss – for this pattern I used 2 strands
 Beads & sequins

Size 10 beading needle
Size 7 embroidery needle (when embroidery floss is used)

Sewing pins and scissors
Hot glue gun (optional)
Poly-fil (optional)
Please note that the brooch pin download is a finished size of approximately 2-3/8″, while the hair band pattern is approximately 3-1/2″. 

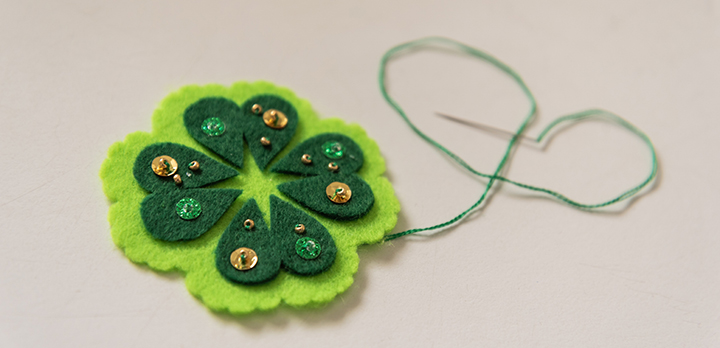
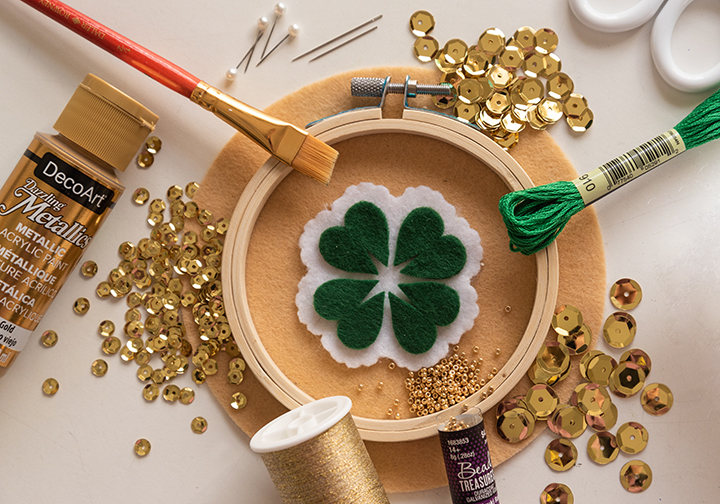
Secure the leaves to the clover doily shape either by sewing sequins and beads on, by sewing the borders on with hand stitching or a combination of both.  If you use hand-sewing techniques, you may even be able to put a bit of poly-fil into each leaf for a 3-dimensional effect.

If you are sewing the brooch pin or barrette to the backer piece (instead of gluing), do this before putting the front and back together so the needlework does not affect the front of the design.  
You can put the front and back pieces together by using hot glue or by sewing.  Below is a hair band that I hot glued on.
Cricut Design Space Instructions


  • Open Cricut Design Space.
  • Click on New Project.
  • Click the Upload button, then click Upload Image.
  • Drag and drop to upload st pattys pot o gold 4 inch.svg, st pattys rainbow 6 inch.svg, st pattys brooch pin.svg, or st pattys hair band.svg.  OR click Browse and navigate to the file, then click Open. Click Save. 
  • Click the image, then click Insert Images.
  • The image will appear on the Canvas. 
  • Click Make It.
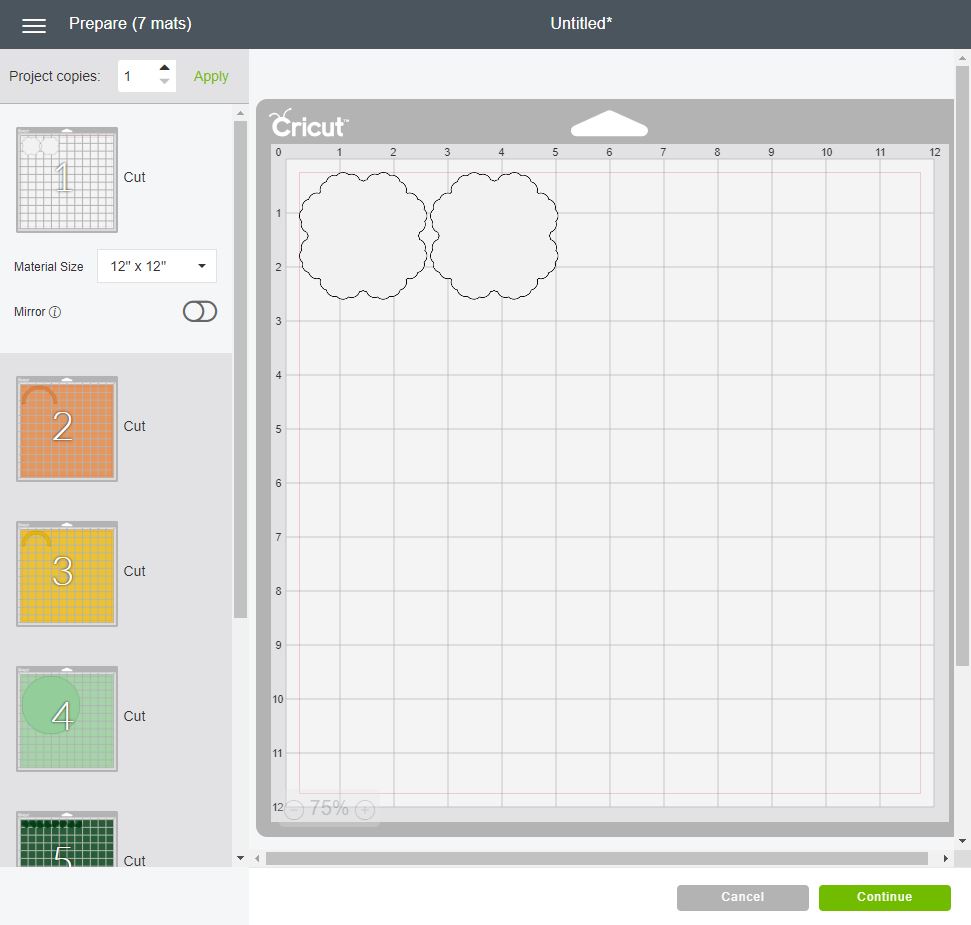
  • The layers will automatically separate onto different mats based on color.  Click Continue.
  • Follow the on-screen instructions to select your material – FELT.
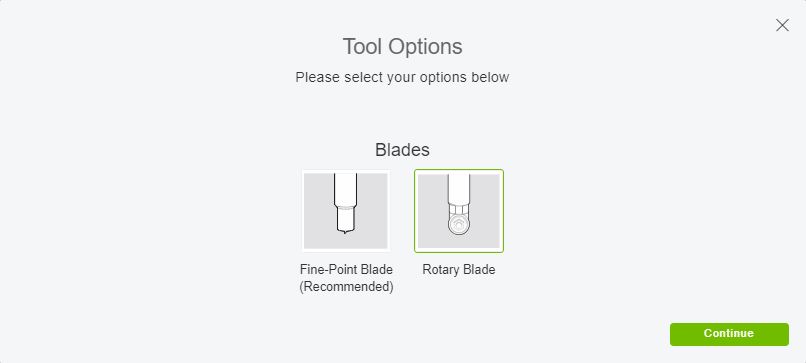
  • Click on Edit Tools on the far right side of the screen, then select the ROTARY BLADE and click Continue.
  • Insert the fabric grip mat with felt into your machine to cut out your St. Patrick’s day four leaf clover craft!