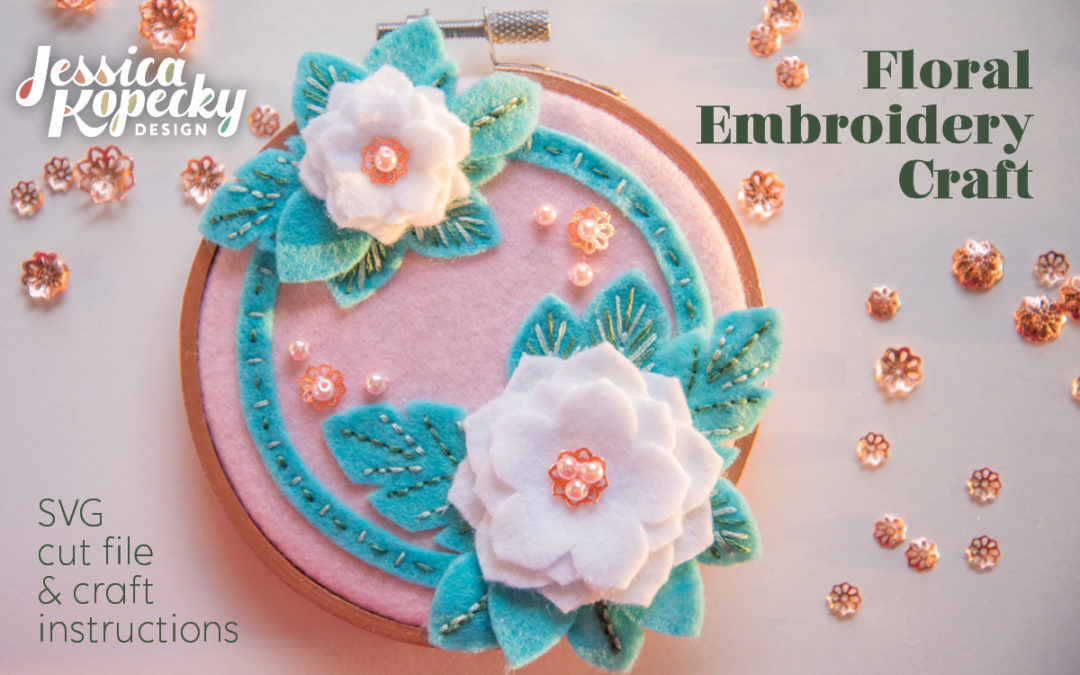
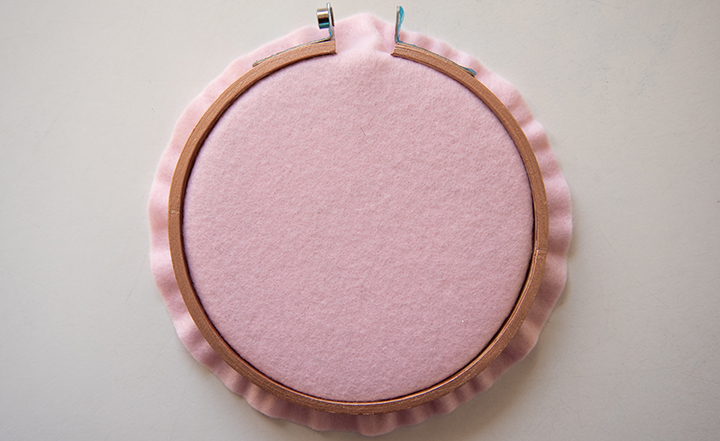
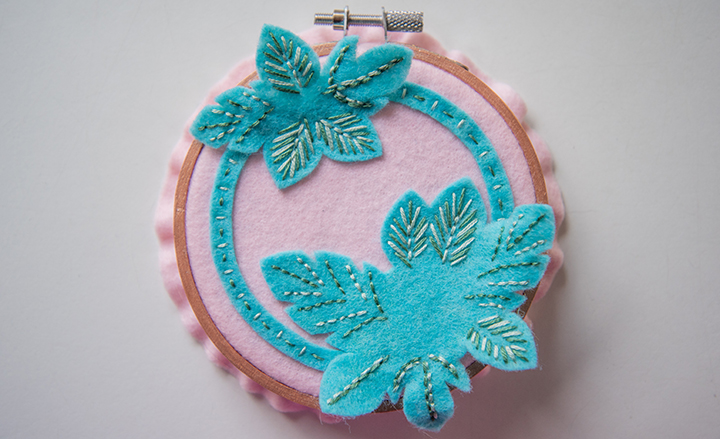
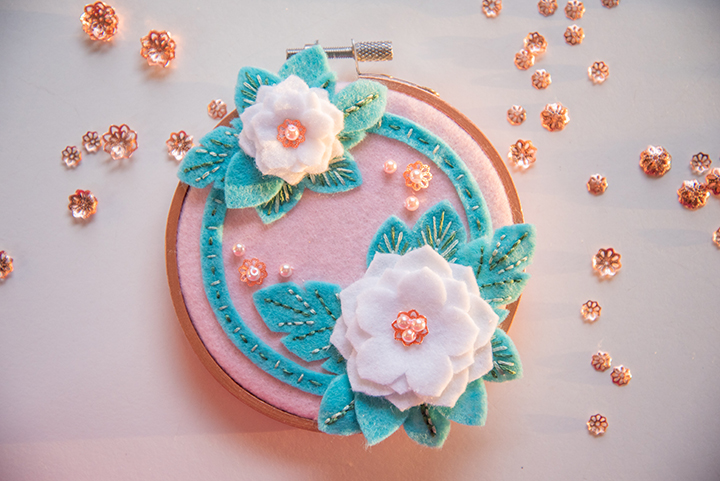
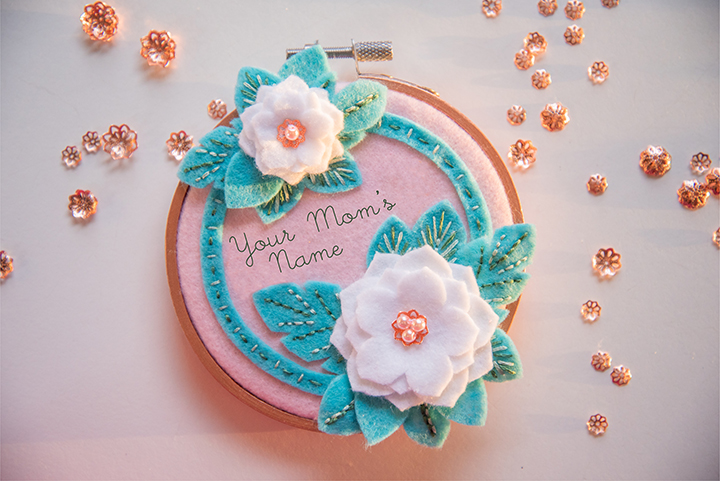
This easy hand sewing craft is made using Cricut Maker felt cut-outs, a 4″ embroidery hoop, and your own personal stitch-work embellishments. The floral pattern also makes a nice Mother’s Day gift!
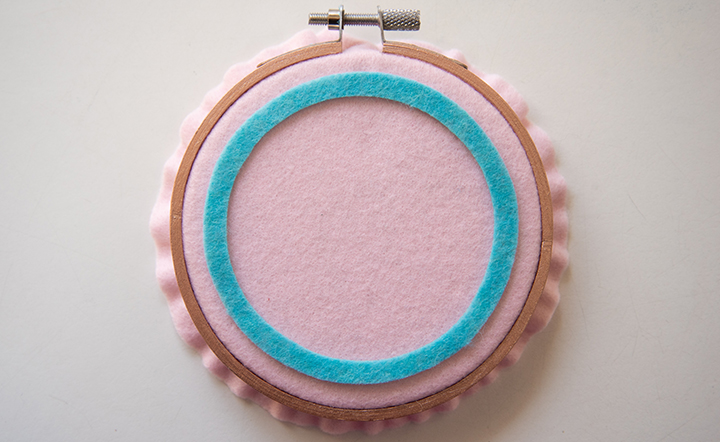
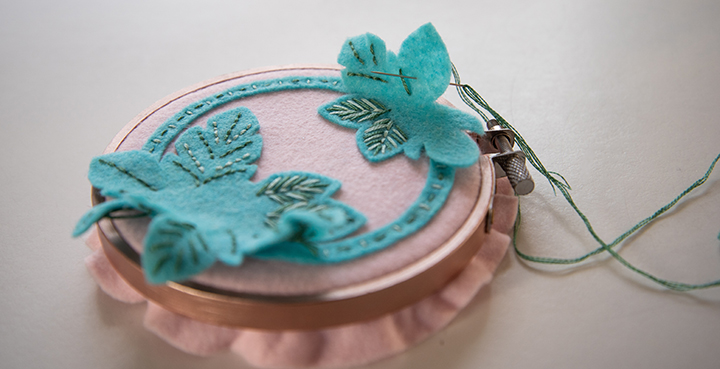
For this pattern I explored a mid-century modern mauve color scheme with teal that is toned down by earthy green flosses. For a pop of metallic I could have used brass to match the time period, but I opted for the more current rose gold.
Have fun using whichever combination of colors you like! I love to see how other people use my patterns, so please show your color scheme in the comments!
– – – – –
The pattern for this project is available for download on my Etsy shop. Please note that you can certainly cut out and create your own shapes, but if you have a Cricut® Maker, rotary blade & fabric grip mat this craft is much easier.
I recommend that you read and look through these instructions before proceeding with assembly. Cricut Design Space instructions follow the craft tutorial.
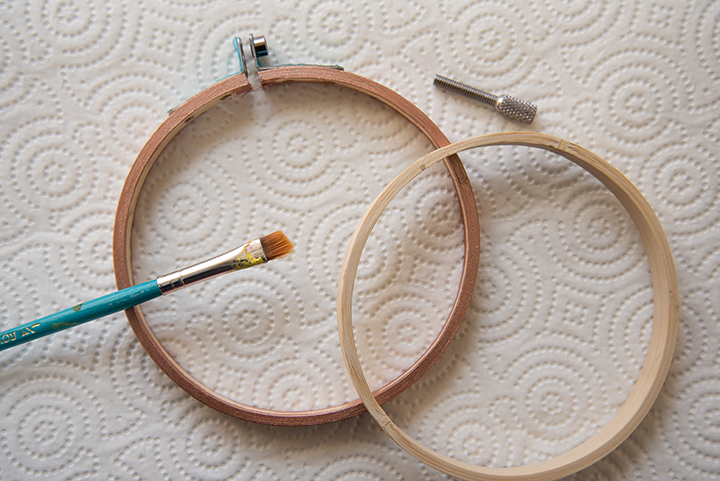
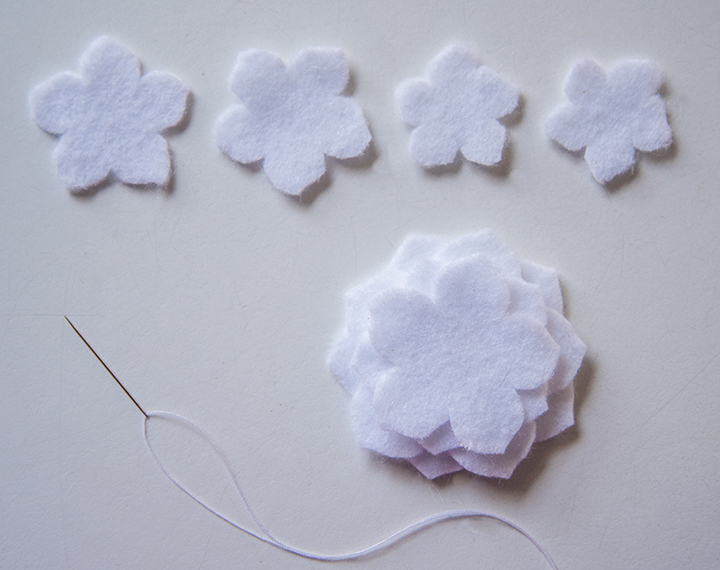
Assembly

★ Size 7 embroidery needle
★ Beads
★ Bead caps (or sequins)
★ Size 10 beading needle
★ Thread
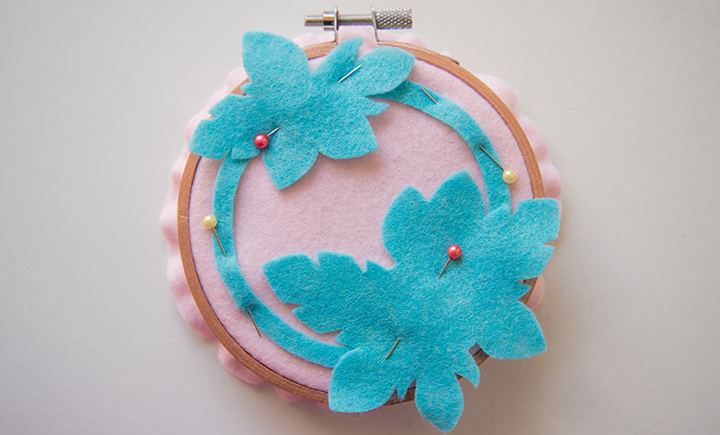
★ Sewing pins (not shown)
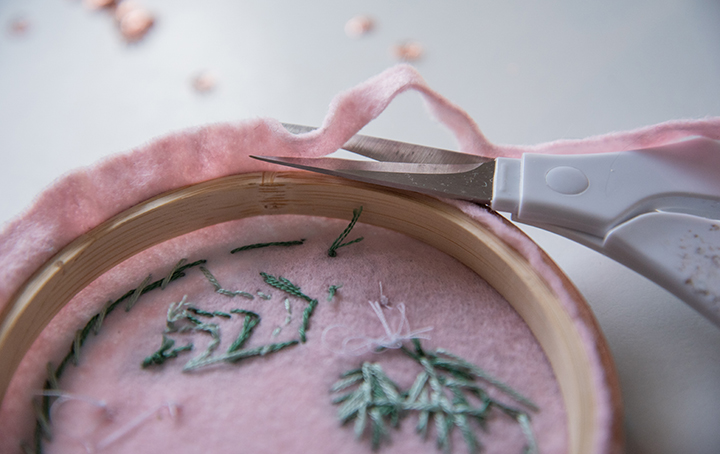
★ Scissors
★ Tacky Glue (not shown)
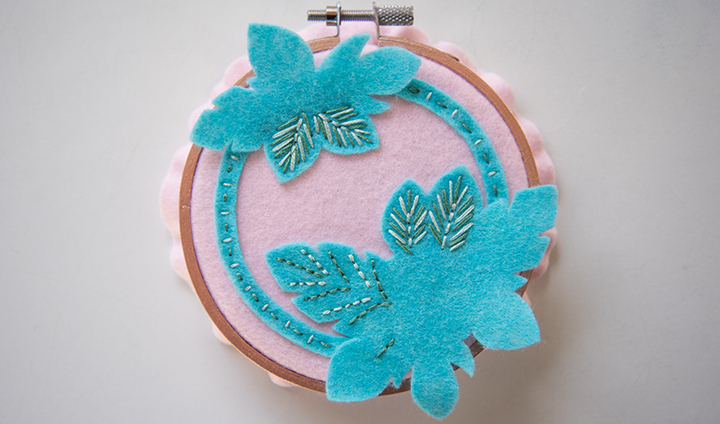
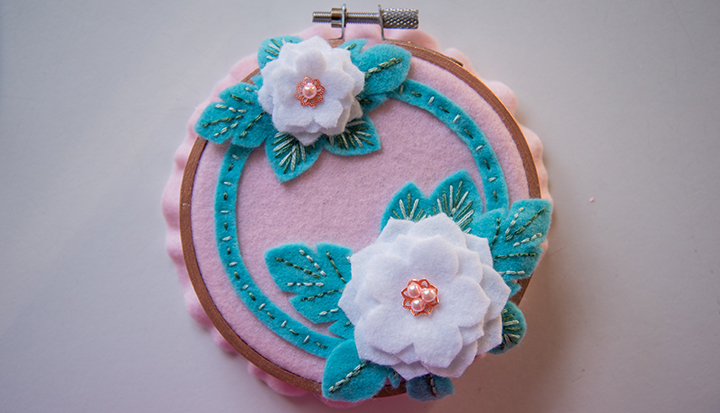
At this point I added a few extra beads and bead caps to the hoop.

Cricut Design Space Instructions
- Open Cricut Design Space.
- Click on New Project.
- Click the Upload button, then click Upload Image.
- Drag and drop to upload mothersdayfloral.svg. OR click Browse and navigate to the file, then click Open. Click Save.
- Click the image, then click Insert Images.
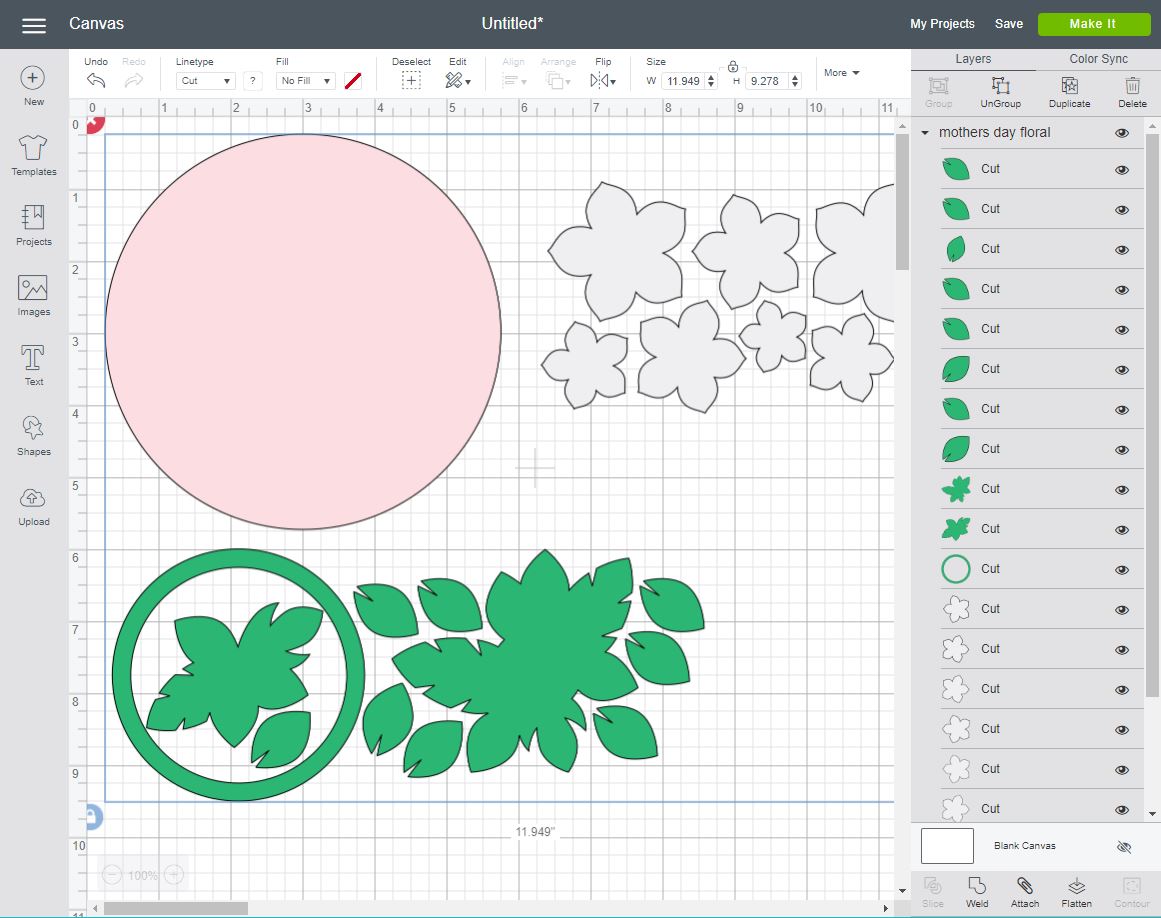
- The image will appear on the Canvas.
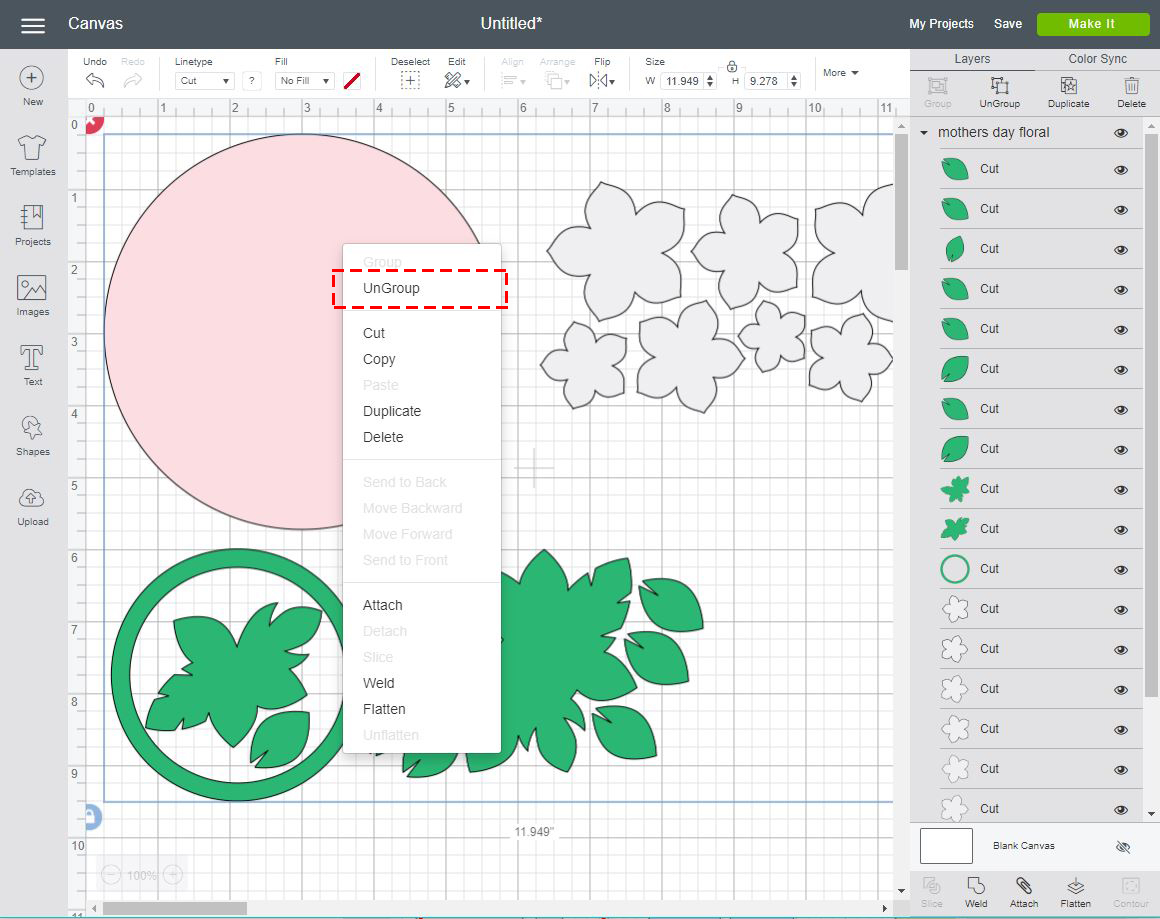
- For the most efficient use of felt materials, you will want to weld like colors together. To do this, first right-click on the pattern. A drop down menu will appear. Click Ungroup.
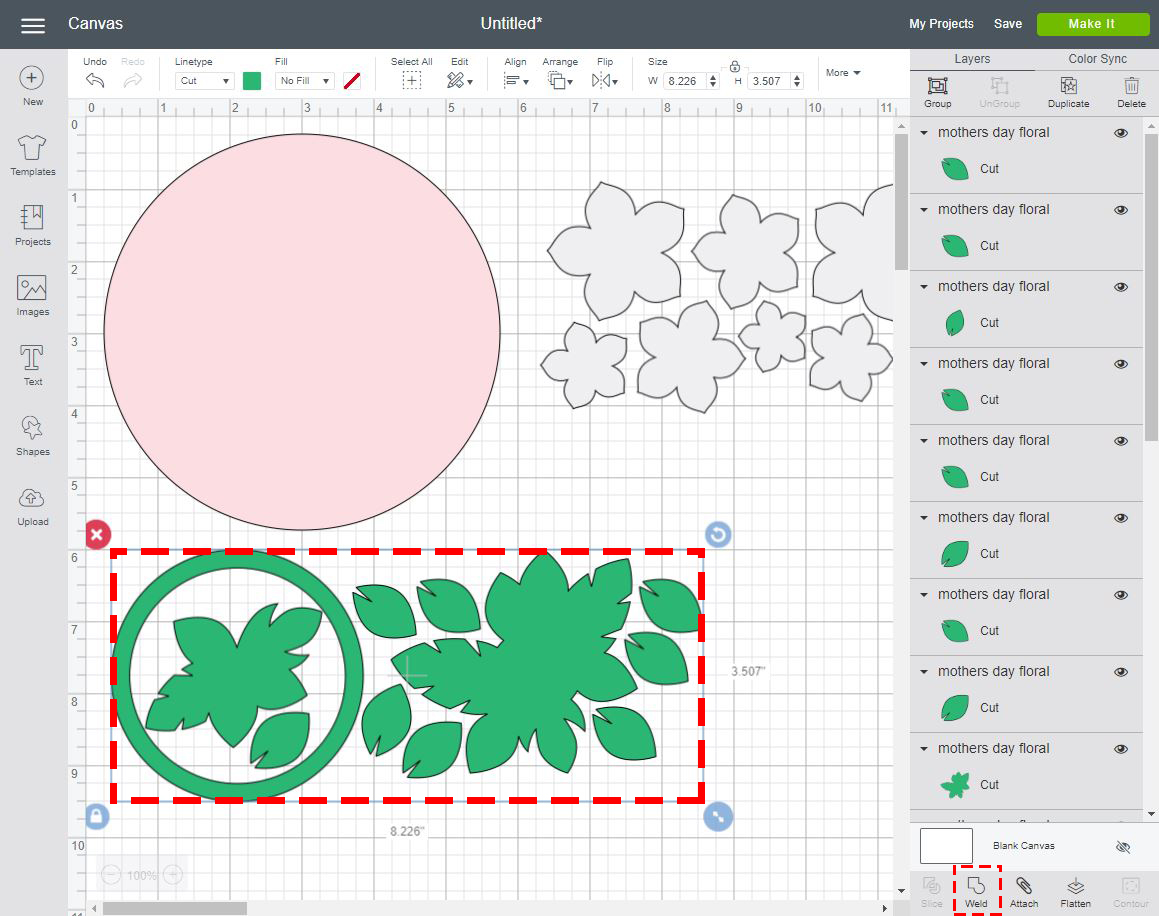
- Click and drag with your mouse to select all the teal objects, then click Weld at the bottom of the Layers panel on the right. Repeat this step for the flower petals.
- Click Make It.
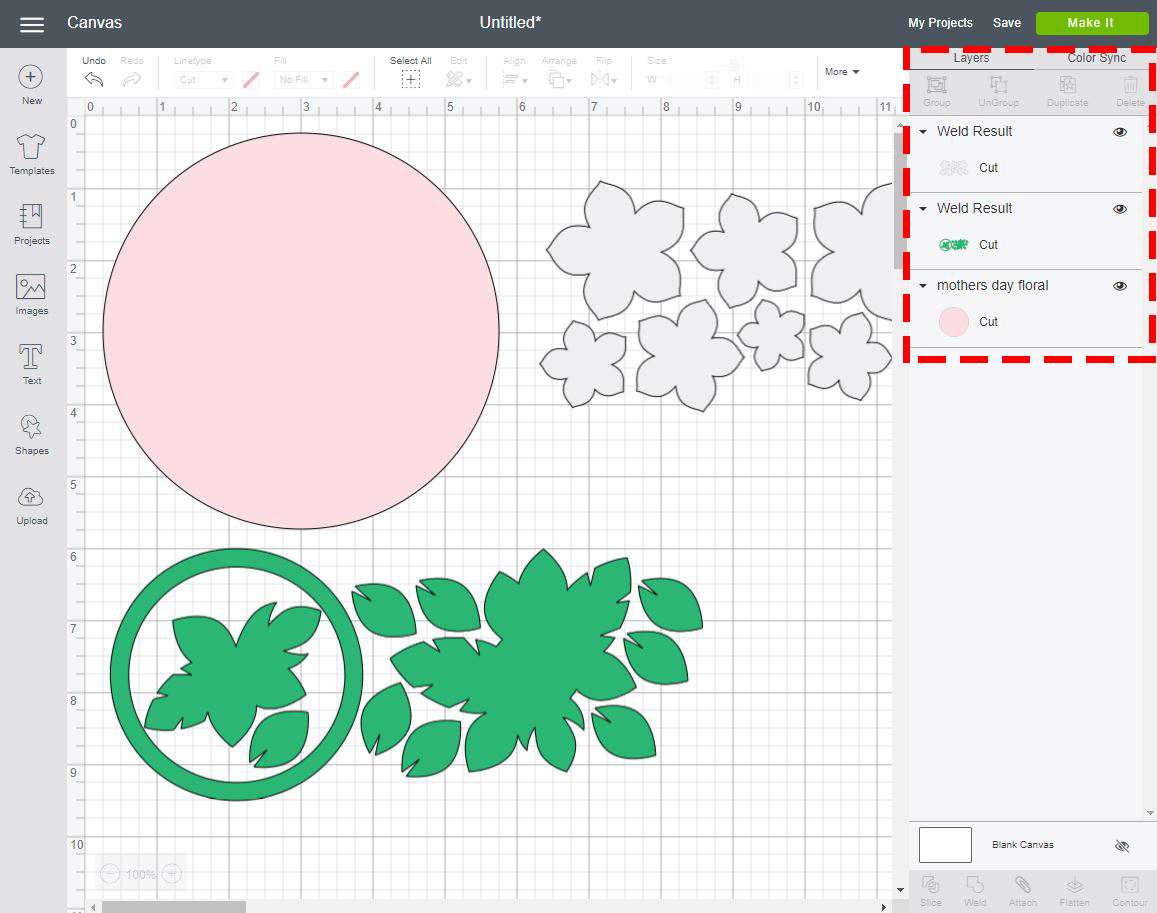
- You will see the Weld Result in the layers panel.
- Click Make It.
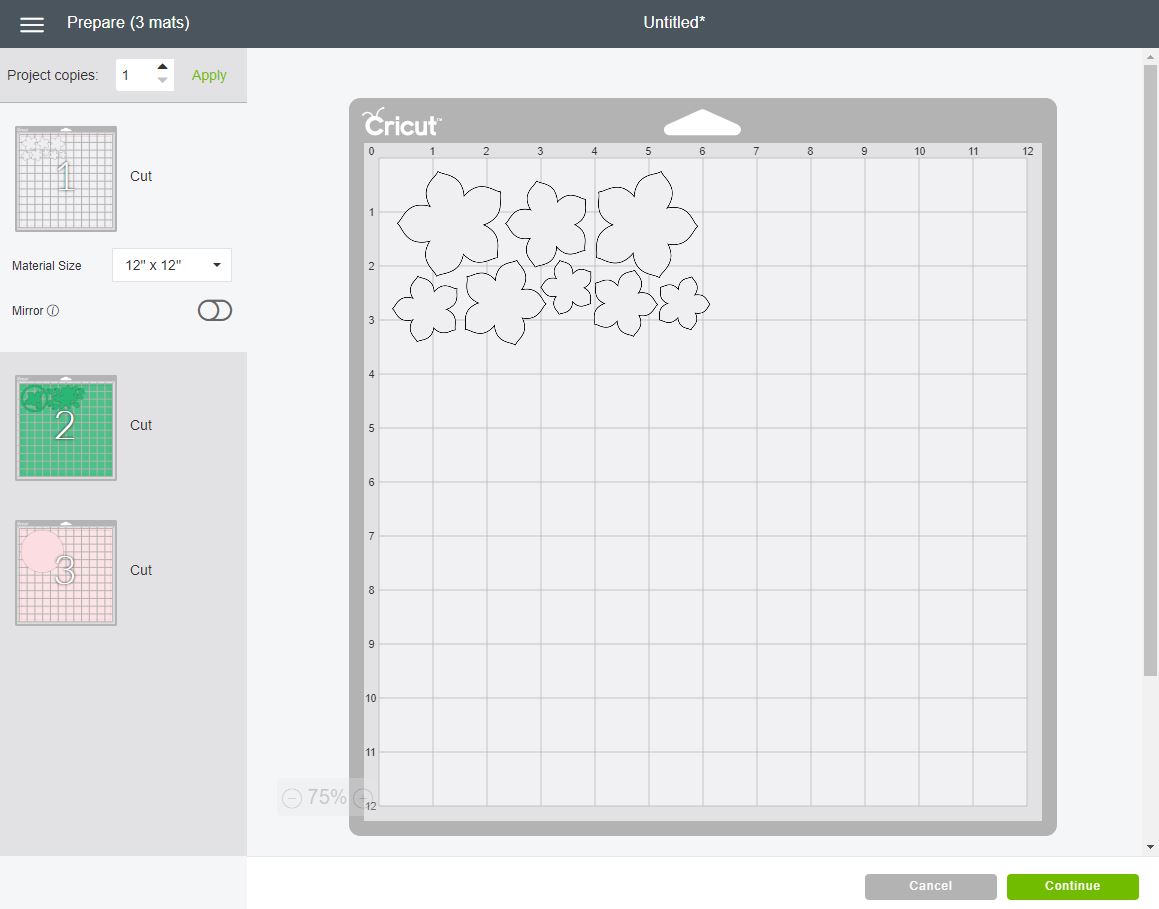
- The layers will automatically separate onto different mats based on color. Click Continue.
- Follow the on-screen instructions to select your material – FELT.
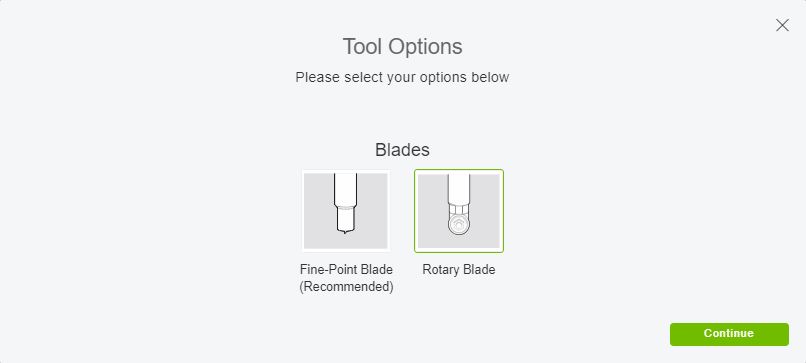
- Click on Edit Tools on the far right side of the screen, then select the ROTARY BLADE and click Continue.
- Insert the fabric grip mat with felt into your machine to cut out your floral embroidery hoop!

Recent Comments