A cut file is available for download on my Etsy page. Cricut Design Space computer instructions follow the assembly instructions.
These are pretty easy to put together, but I do recommend checking the instructions before proceeding with assembly.
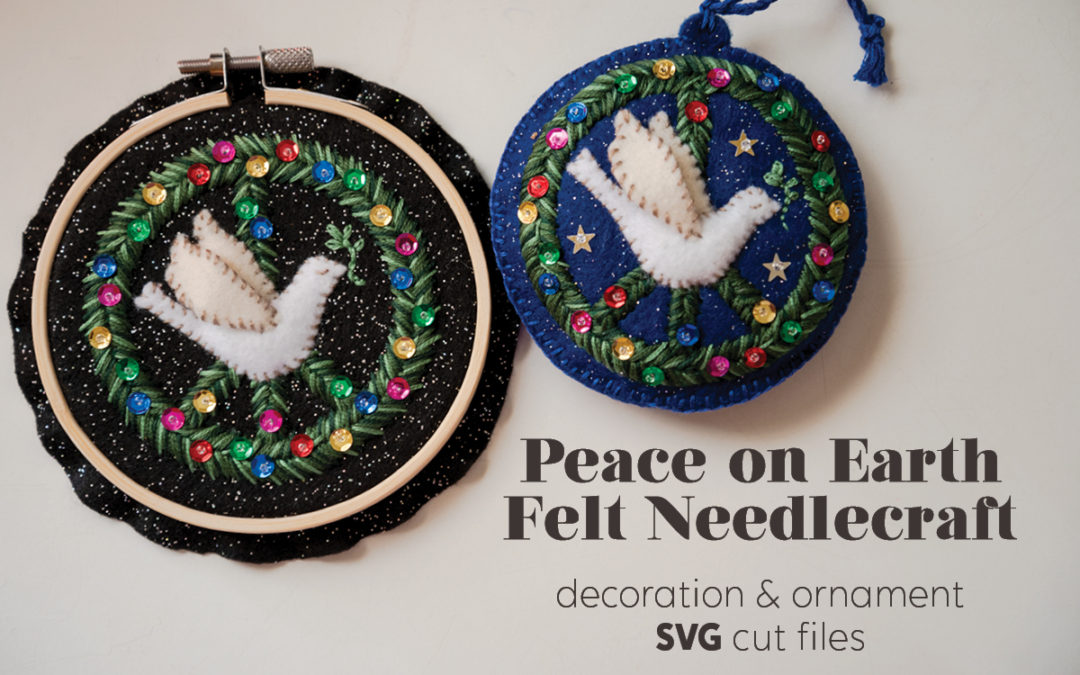
Assembly
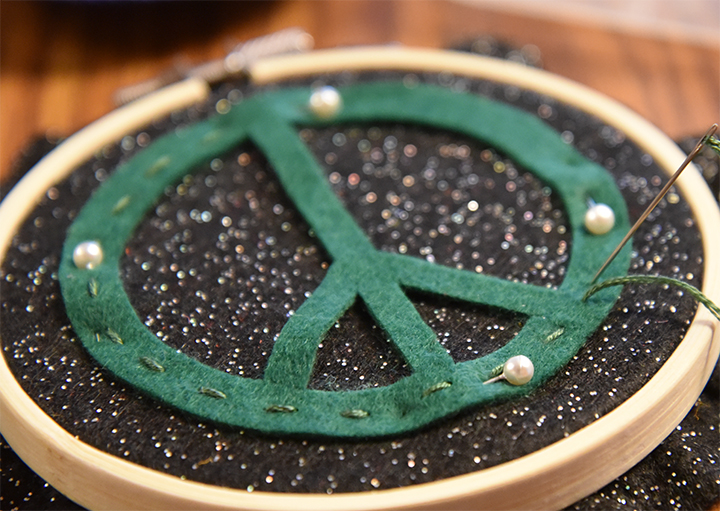
To start, I used sewing pins to position the peace sign onto the center. Using a running stitch, I tacked the peace sign down. This prevented the shape from traveling as I added embroidery details.
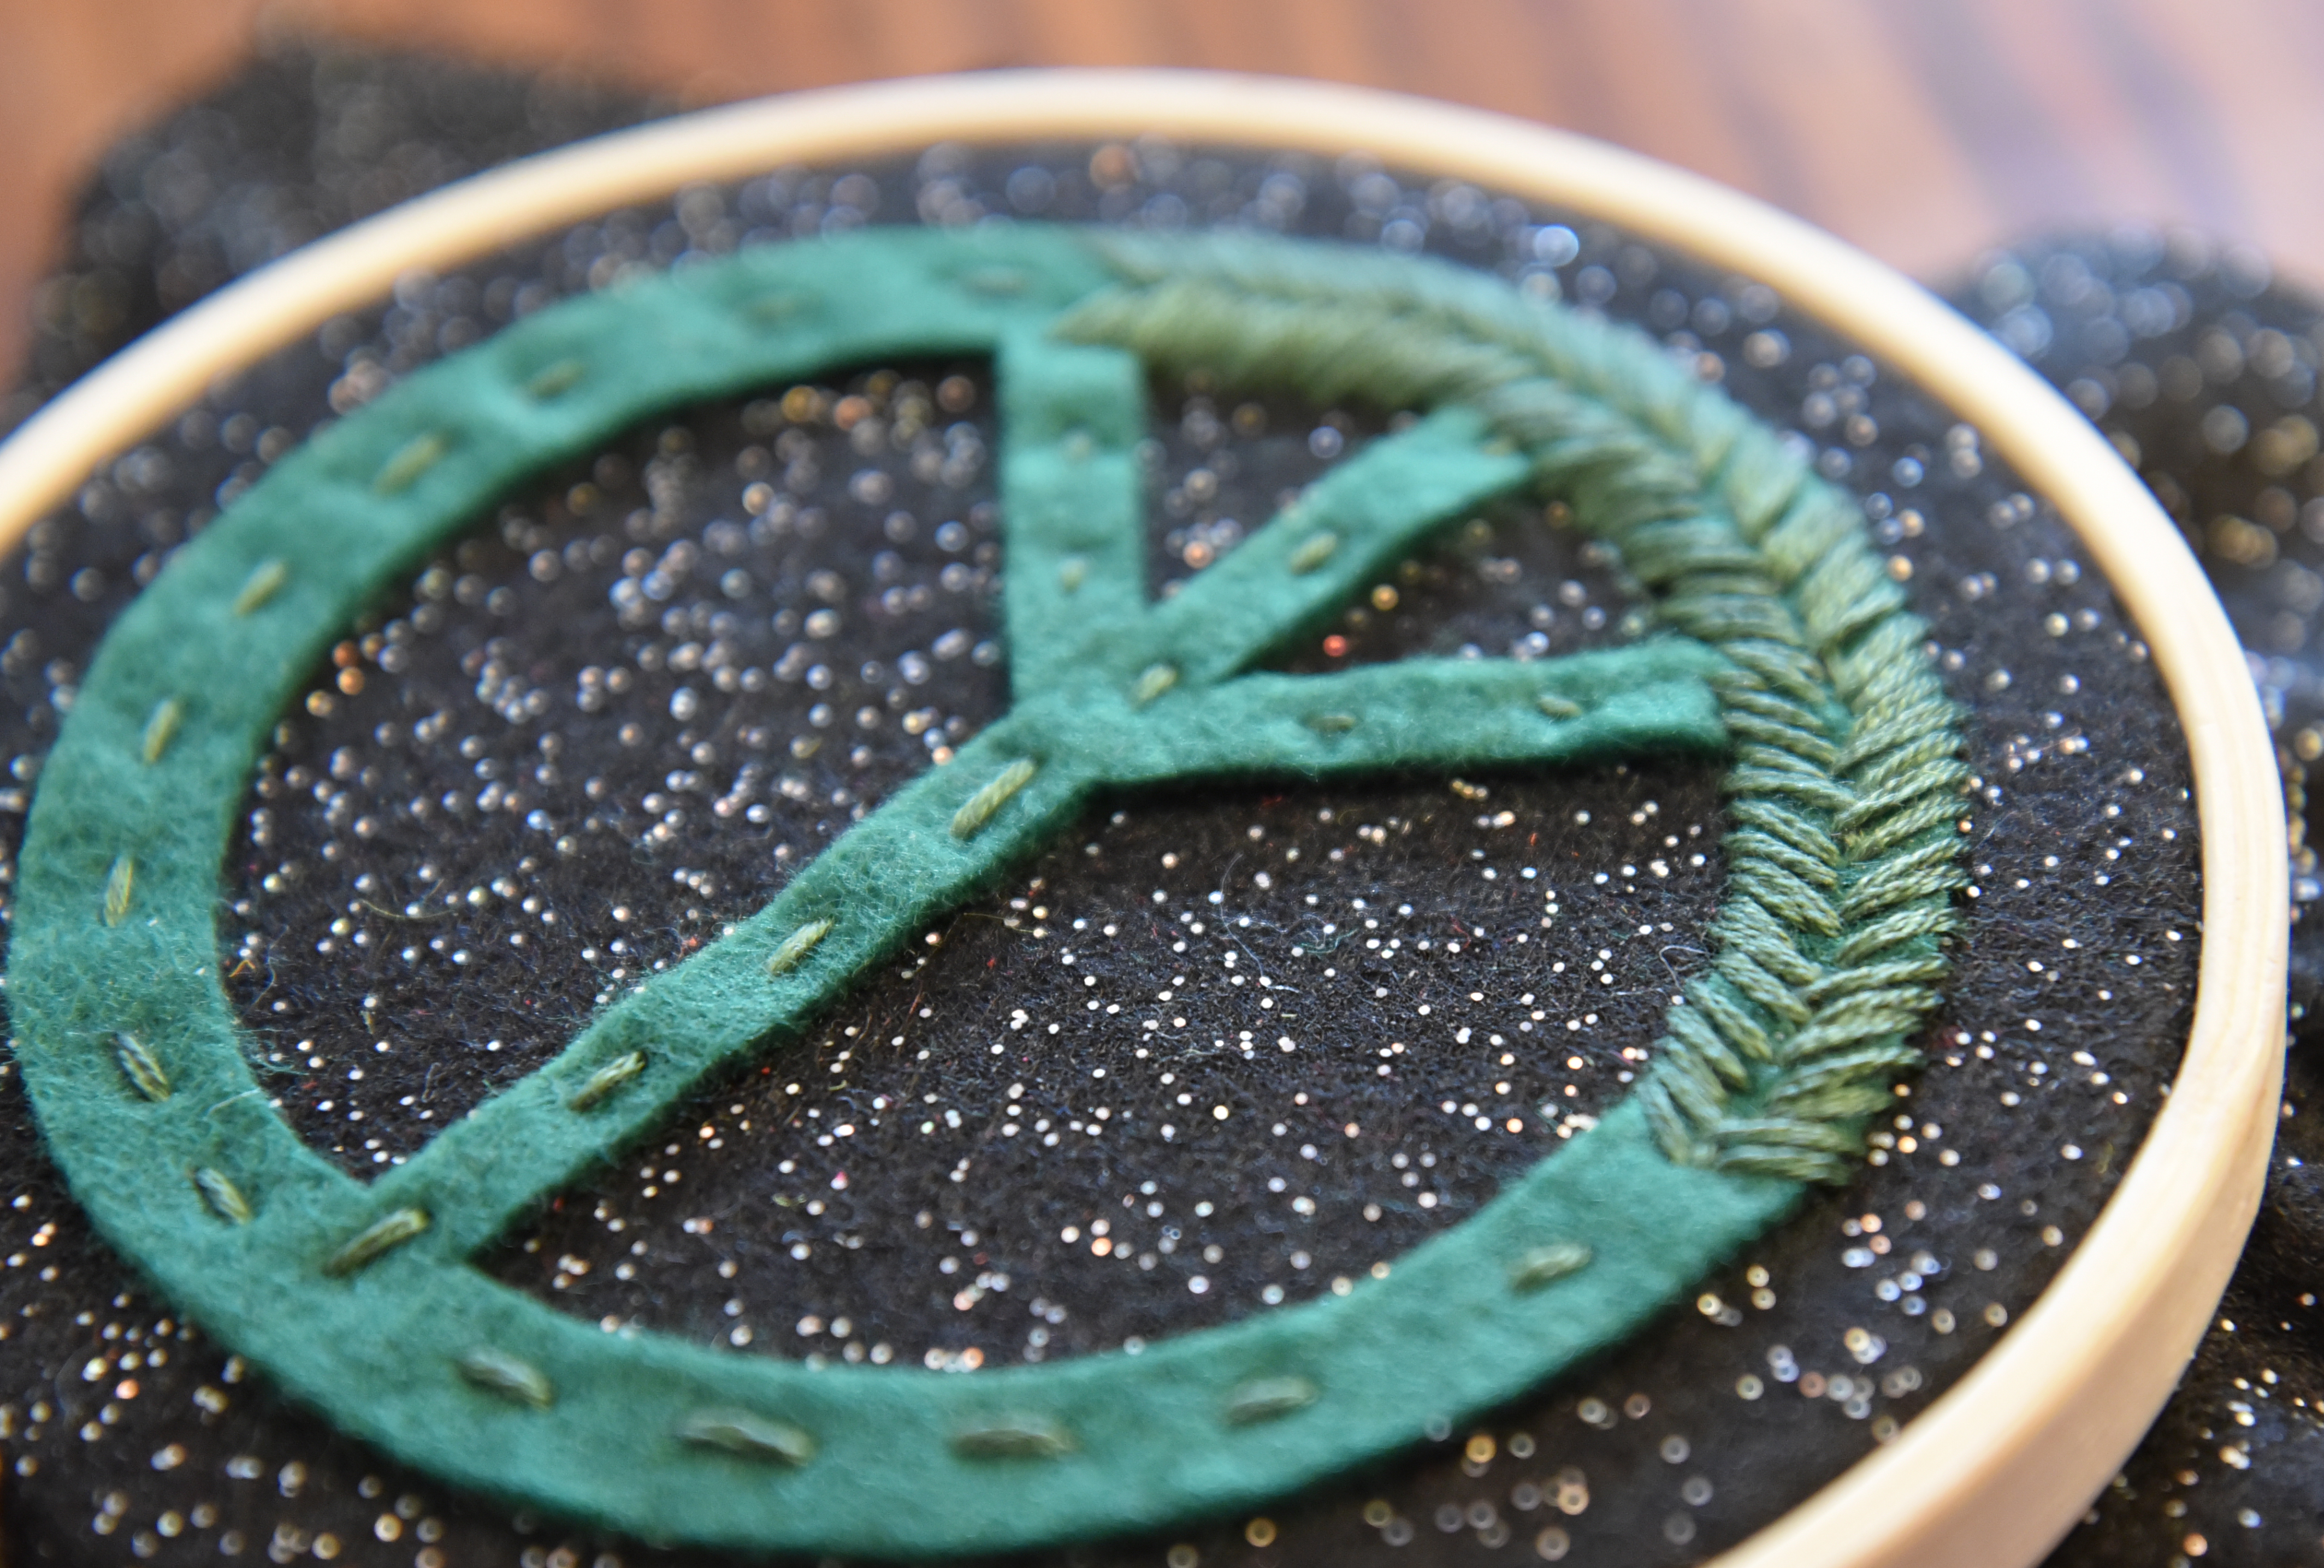
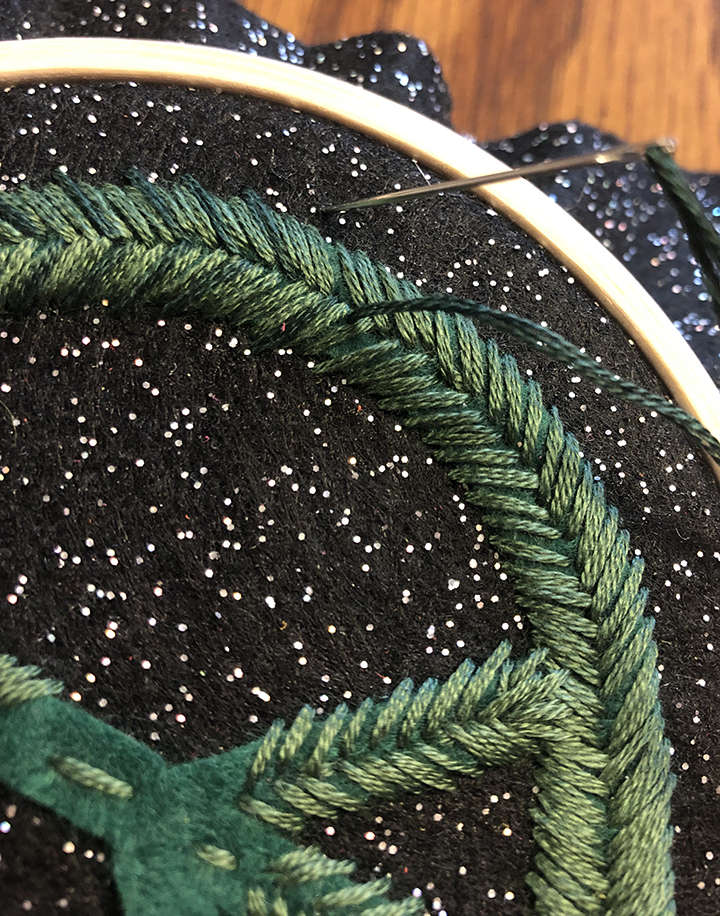
Then I added the green (520) to make pine needles on the peace sign wreath. I covered most of the peace sign cut out, leaving some breathing room in between the stitches.
After the peace sign was covered, I added the dove body and wings. I stuffed the bottom wing with a little poly fil before closing it up. I sewed a small eye onto the face, then sewed on the body on and added a bit of poly fil to that before closing it up.
I simply tacked the top and bottom of the remaining wing to the body and the background. Prior to that though, I made sure both wings matched each other by stitching a useless stitch just for aesthetics to the outer edge. 😀
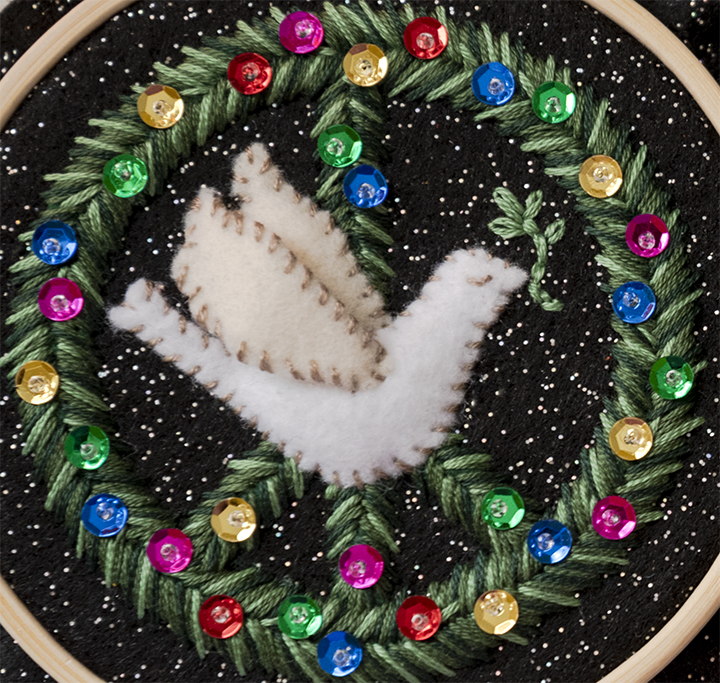
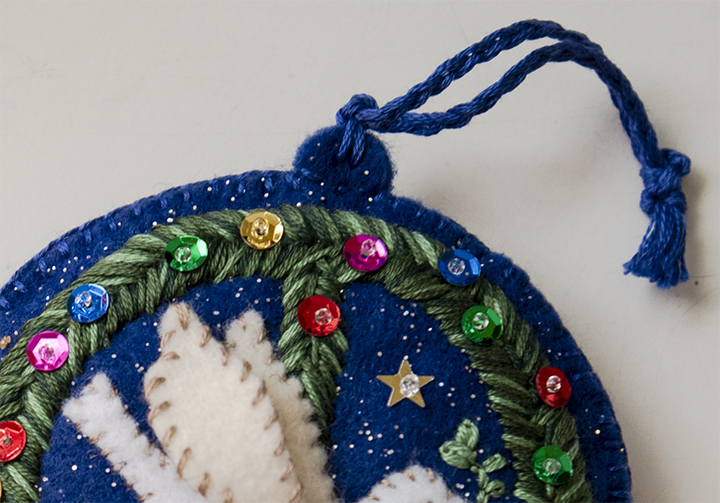
After the dove was sewn on, I used a combination of chain and backstitches to create an olive branch. Then I sewed on multi-colored sequins with clear beads to look like lights. At this point, the embroidery hoop decoration was done.
- Open Cricut Design Space.
- Click on New Project.
- Click the Upload button, then click Upload Image.
- Drag and drop to upload dovepeacedecoration.svg, dovepeaceornament.svg OR click Browse and navigate to the file, then click Open. Click Save.
- Click the image, then click Insert Images.

- Click Make It.
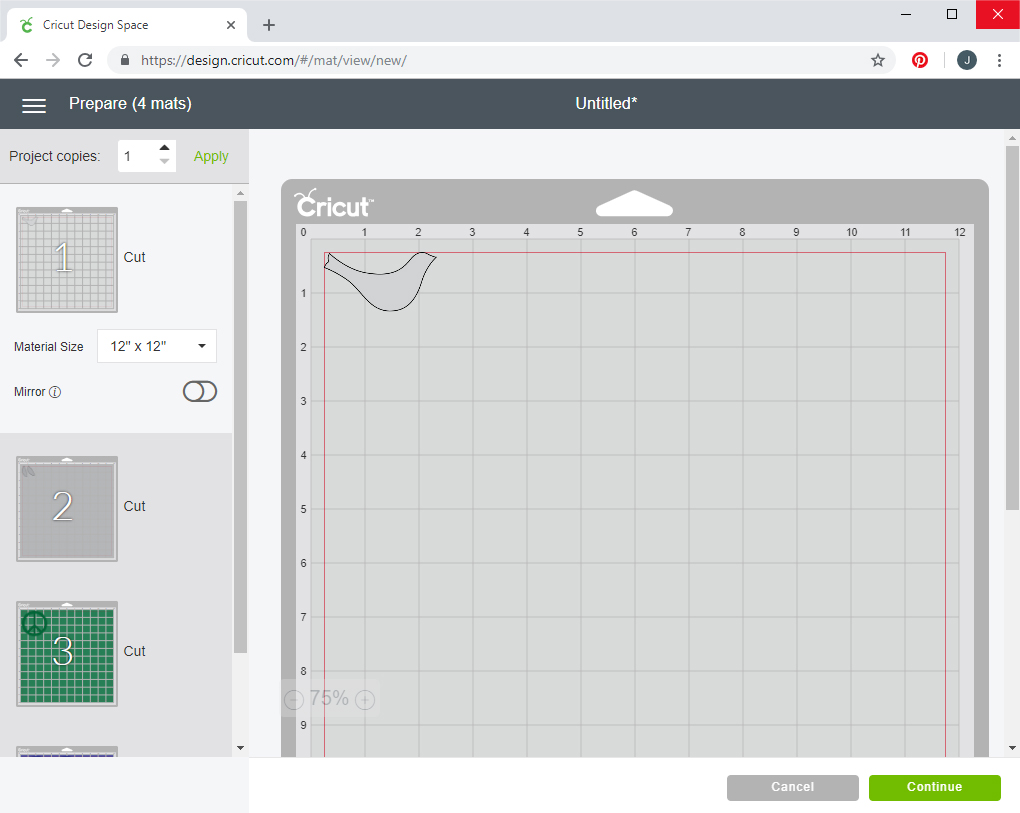
- The layers will automatically separate onto separate mats based on color. Click Continue.
- Follow the on-screen instructions to select your material – FELT.
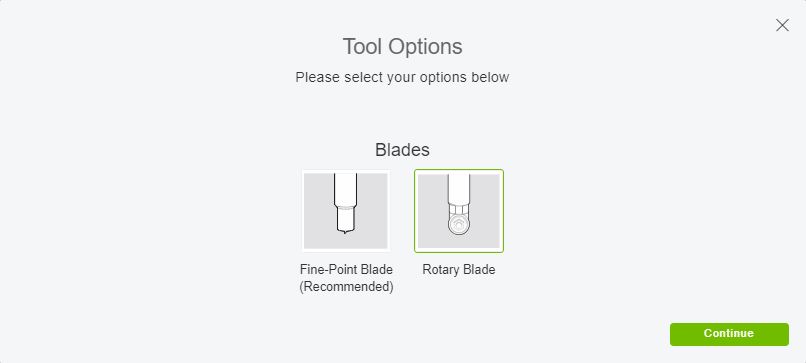
- Click on Edit Tools on the far right side of the screen, then select the ROTARY BLADE and click Continue.
- Insert the fabric grip mat with felt into your machine to cut out your Peace Dove ornament or decoration pieces!

Recent Comments