
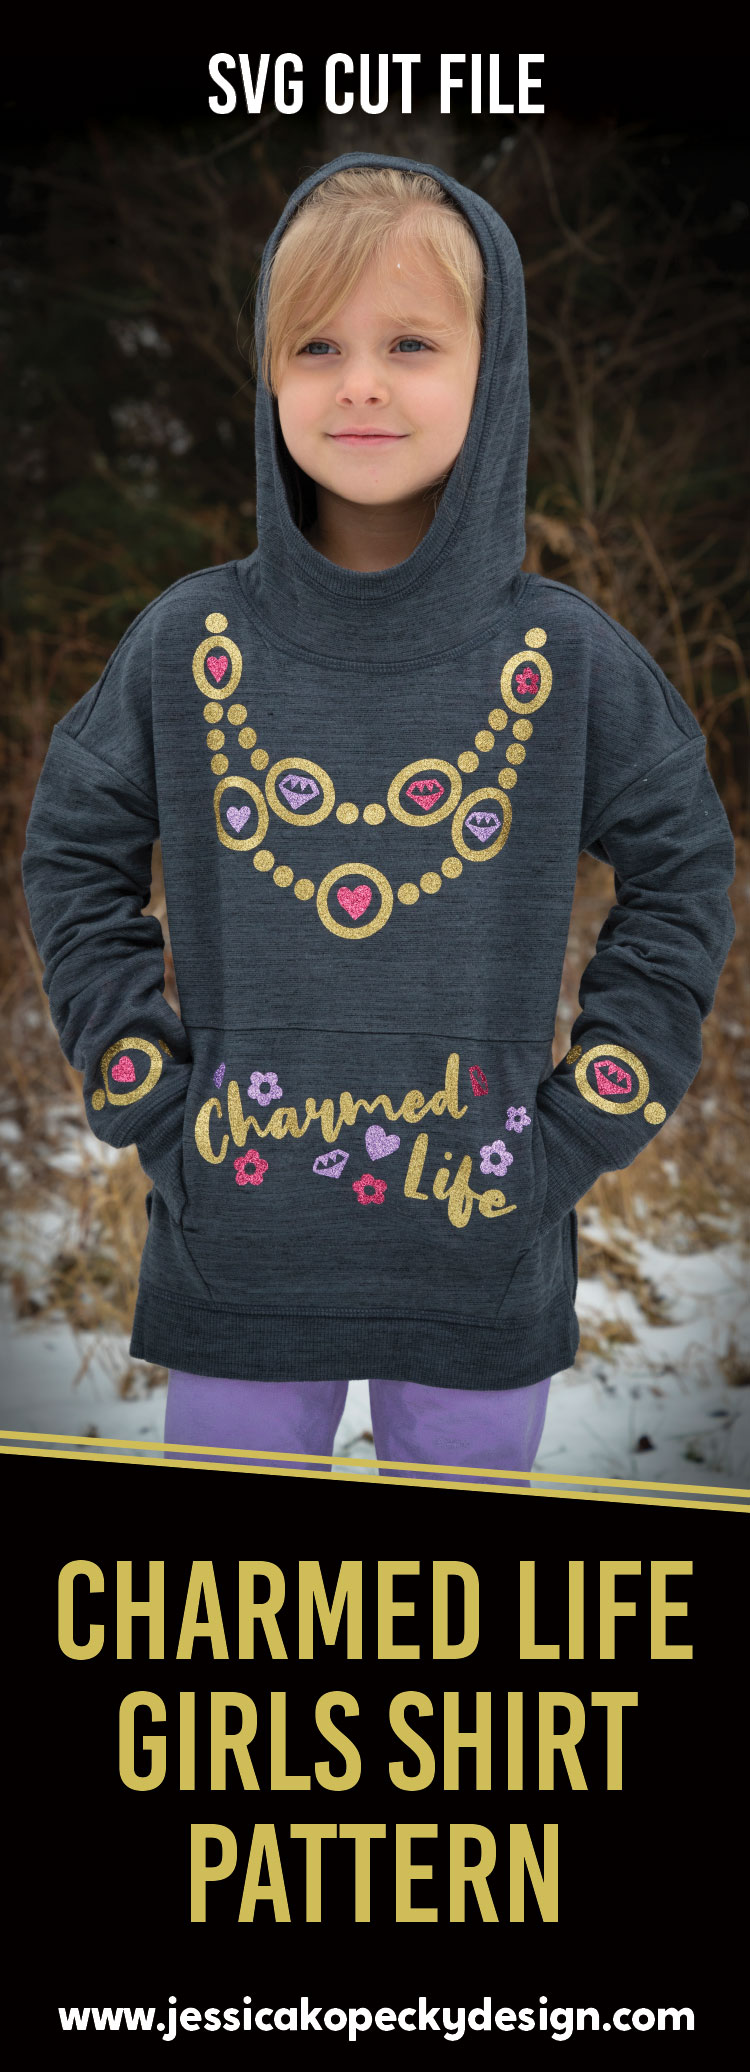
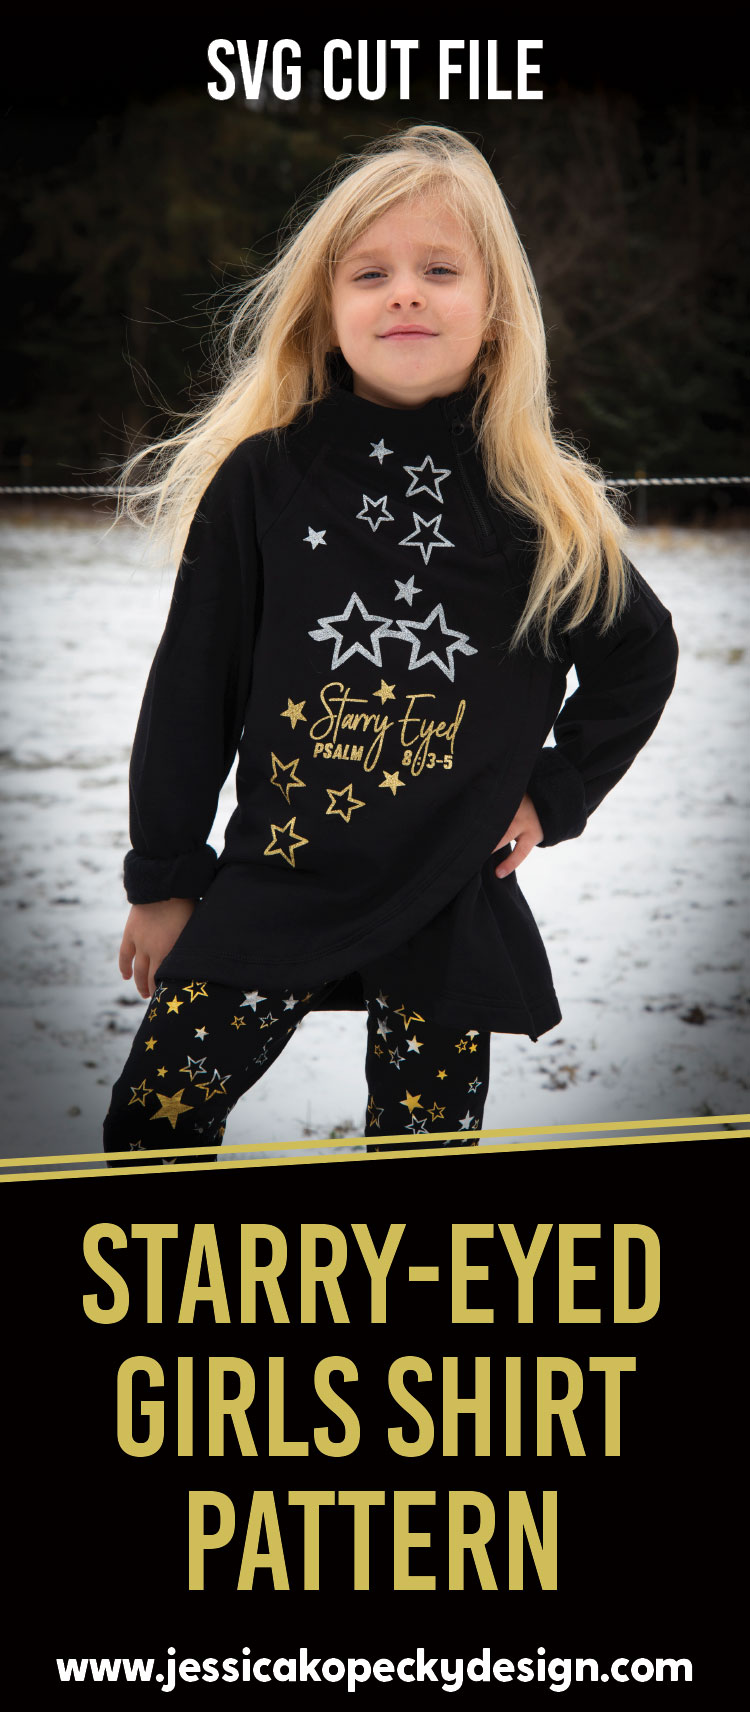
My daughter loves to help out with my Cricut machine. She pushes the buttons, feeds the sheets for cutting, and even helps me with weeding. She is also interested in the design process, and offers thoughts over my shoulder as I sit at the computer. Since she has been paying so much attention to the process, I created some shirt designs that allow her to have a say in where the elements of the design will go. She enjoys a sense of ownership which makes her extra proud to wear her shirts.
Click on the designs below to visit the Etsy download pages for each.
Cricut Design Space computer instructions for cutting the shirt files are below.
For more detailed instructions and information on my SVG T-shirt files, please visit my how-to page for tips on material and layout.
Cricut Design Space Instructions
- Open Cricut Design Space.
- Click on New Project.
- Click the Upload button, then click Upload Image.
- Drag and drop to upload the SVG file OR click Browse and navigate to the file, then click Open. Click Save.
- Click the image, then click Insert Images.
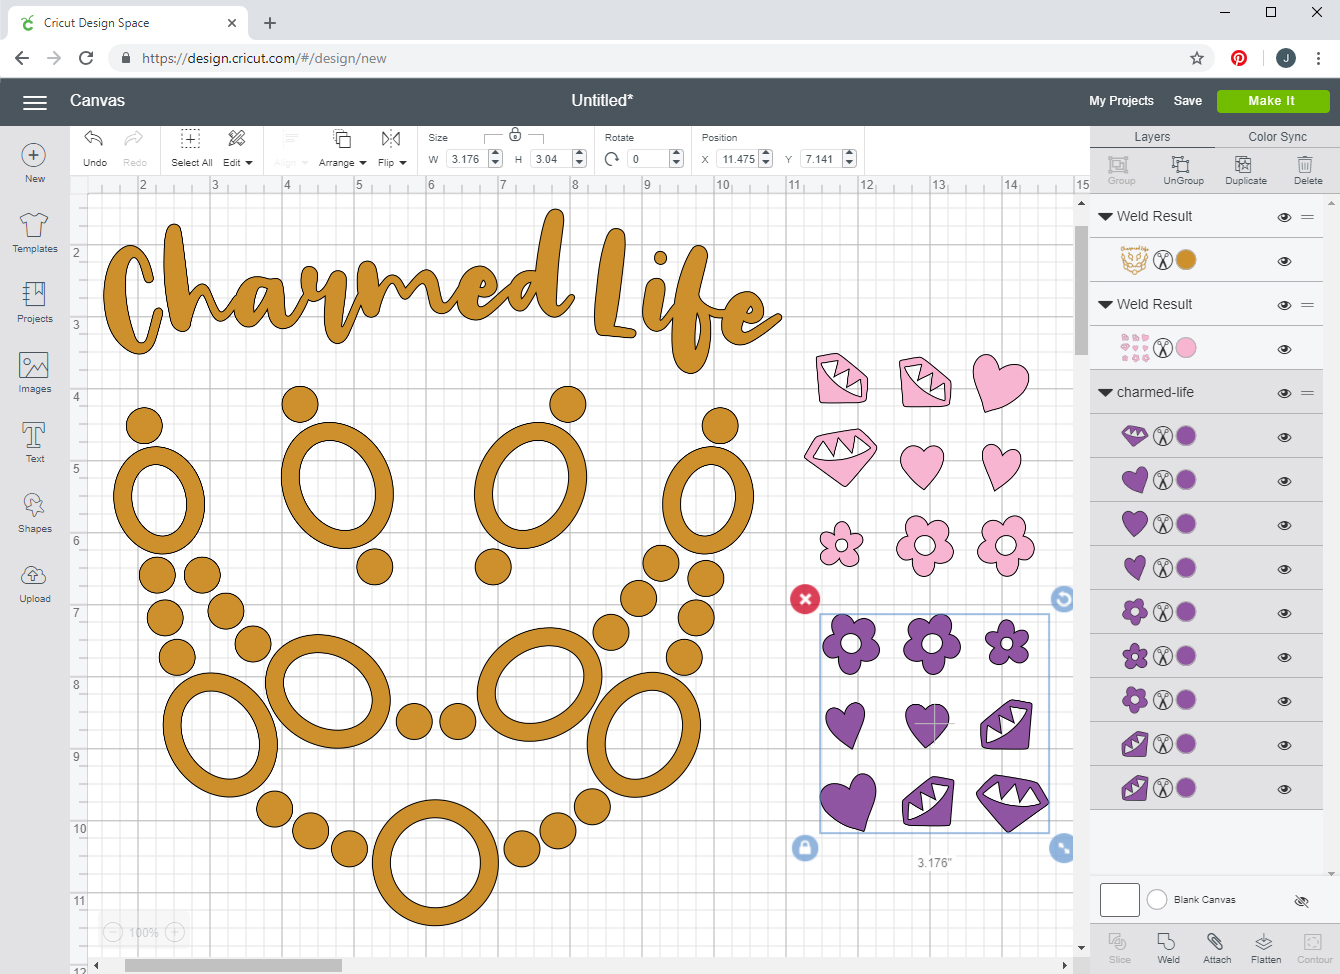
- The image will appear on the Canvas. Under Layers on the right side of the screen, select all the layers that match in color, then click Weld on the bottom right of the screen. Do this for every color.
- You will see the Weld Result on the layers panel at the right side of the screen. When each separate color is welded together, click Make It.
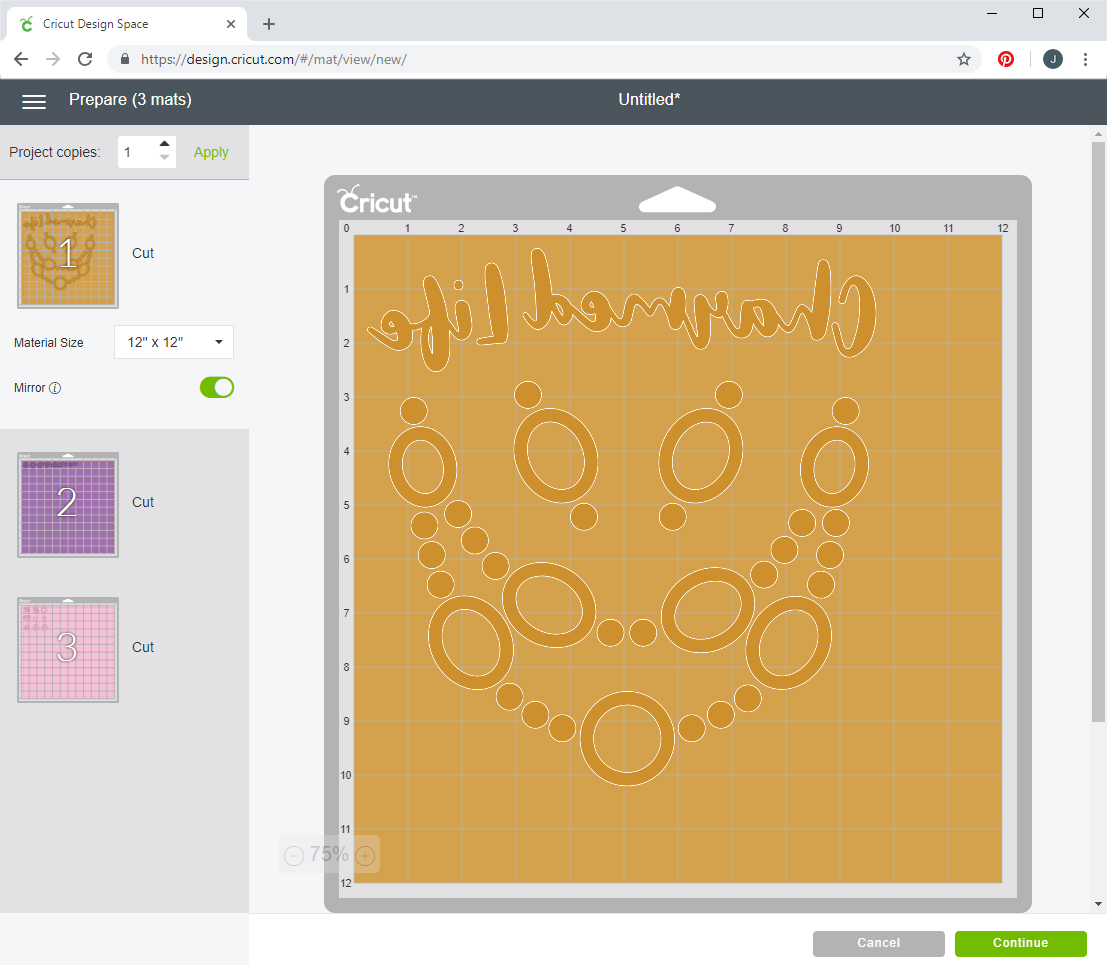
- The layers will automatically separate onto two mats based on color.
- Click Continue. Follow the on-screen instructions to select your materials, then load the correct blade and mat to cut out your kids’ design patterns.
- Before ironing, be sure to cut separate elements of the iron-on apart.


Recent Comments